¶ Intro
Hello everyone, Ive recently had someone ask me to write up a tutorial on how i setup my own streaming server to use in game, not to mention a few times in game i get asked this as well. so im doing that. Ill be blunt. This is my first ever tutorial. So its likely not the best. Combined with the fact im leaving a lot of options its more of a guideline of a.. guide.
¶ Requirements
- Your own domain name - or if you don't already have one, about 10bucks its also possible without one, but that has different issues.
- A computer, sorry quest only peeps, but even if youre computer is not vr capable you can still do this if you have a computer or laptop, It can also be better if you already have a dedicated system like a NAS as well, but that not a requirement (i personally use a server that hosts a lot of other thing, in fact, this tutorial is hosted form the same system)
- Some tech skills, Some of this stuff will need troubleshooting, More so if you are going to use some of the alternatives i also advise of during this guide.
- Good internet, Upload speed to be exact. This scales with how many people will be watching, including yourself and the quality you choose, This can be also offloaded somewhat if the server you use is not on your home network (like a friends place, or VPS)Another Thing to also keep in mind is if you have limited data, this will likely use a lot.
¶ Making a stream
First we are going to setup the server that handles taking in a stream, And giving us a stream that vrc will be able to understand
This involves being able to get a RTMP stream likely from obs, Or your streaming application of choose. Then spitting out a HLS stream (this is not the *only* way, But it is the easiest to work with)
¶ Software
For this task i use SRS, Running in docker. i like this cos it has a good console for stats, its not the only option though, MediaMTX also runs in docker and works pretty much the same from my experience. Last option im aware of is MonaServer, it's a native application so would not need docker, and ive seen it work ok. But it seems more finicky
srs - https://github.com/ossrs/srs#usage | https://ossrs.net/lts/en-us/docs/v4/doc/getting-started | https://hub.docker.com/r/ossrs/srs
mediamtx - https://github.com/bluenviron/mediamtx | https://hub.docker.com/r/bluenviron/mediamtx
monaserver - https://www.monaserver.ovh/ | https://github.com/MonaSolutions/MonaServer | https://sourceforge.net/projects/monaserver/
¶ Docker
For docker i run unraid so docker is pre installed. But depending on what system you are running the install can be different, Also you don't need to be running this on the same system as the stream is coming from you can run it on a different system, if for example you have a basic nas it might have docker capability you can use This is your calling to start a homelab, Also for running srs, here are different guides you can follow for installing docker:
windows / mac os / linux - https://docs.docker.com/desktop/
linux (command line) - https://docs.docker.com/engine/install/
If you are not using one of the above, i think you will be ok and don't need a guide. but if not, Google it
Now that you have docker installed we can pull SRS
If you are using a command line this is the command you can run:
docker run -it -p 1935:1935 -p 1985:1985 -p 8080:8080 ossrs/srs:6
To explain what this command does, in-case you are not using a command line, and have a gui for docker this is what we are doing:
Repository - ossrs/srs:6 - This is the container it will run, while this is a over simplification, think of it just like a program and we are telling it what one to run
All of the ones with -p like the below
-p 1935:1935
-p 1985:1985
-p 8080:8080
These are the ports that the container will use. Again a over simplification this is a like a network "door" each port has a different "thing" behind it.
1935 hosts the server that gets the stream from your streaming software and 8080 is what hosts the HTTP server, that vrc will connect to. Also were you can see your stats later one.
One side is the port in the container and the other is the port on your host, this is the same as when you do port forwarding with your router, in this case tho both are the same. as we don't really need them to be on different ports (unless you have your own reason for it)
-it
These are somewhat optional.
And allows for logs in your terminal and input, it can be replaced with -d if you want it to run in the background.
If you are using Unraid it will look like this, Other GUI docker management systems will likely not differ much.

¶ Testing locally
Now that this is running you should should be able to test this within your network to make sure it works
For simplicity whenever i show a address ill use local host ipv4, As if it was running on the system you are using, but this might not be the case if its running else were make sure to use its ipv4 or 6 address (sometimes when using ipv6 you need to put the address in square brackets, like [::1]), And for screenshots 192.168.20.198. As that's were the server sits in my network.
To test it we can use our streaming application, in this case we will be using OBS and VLC as a client.
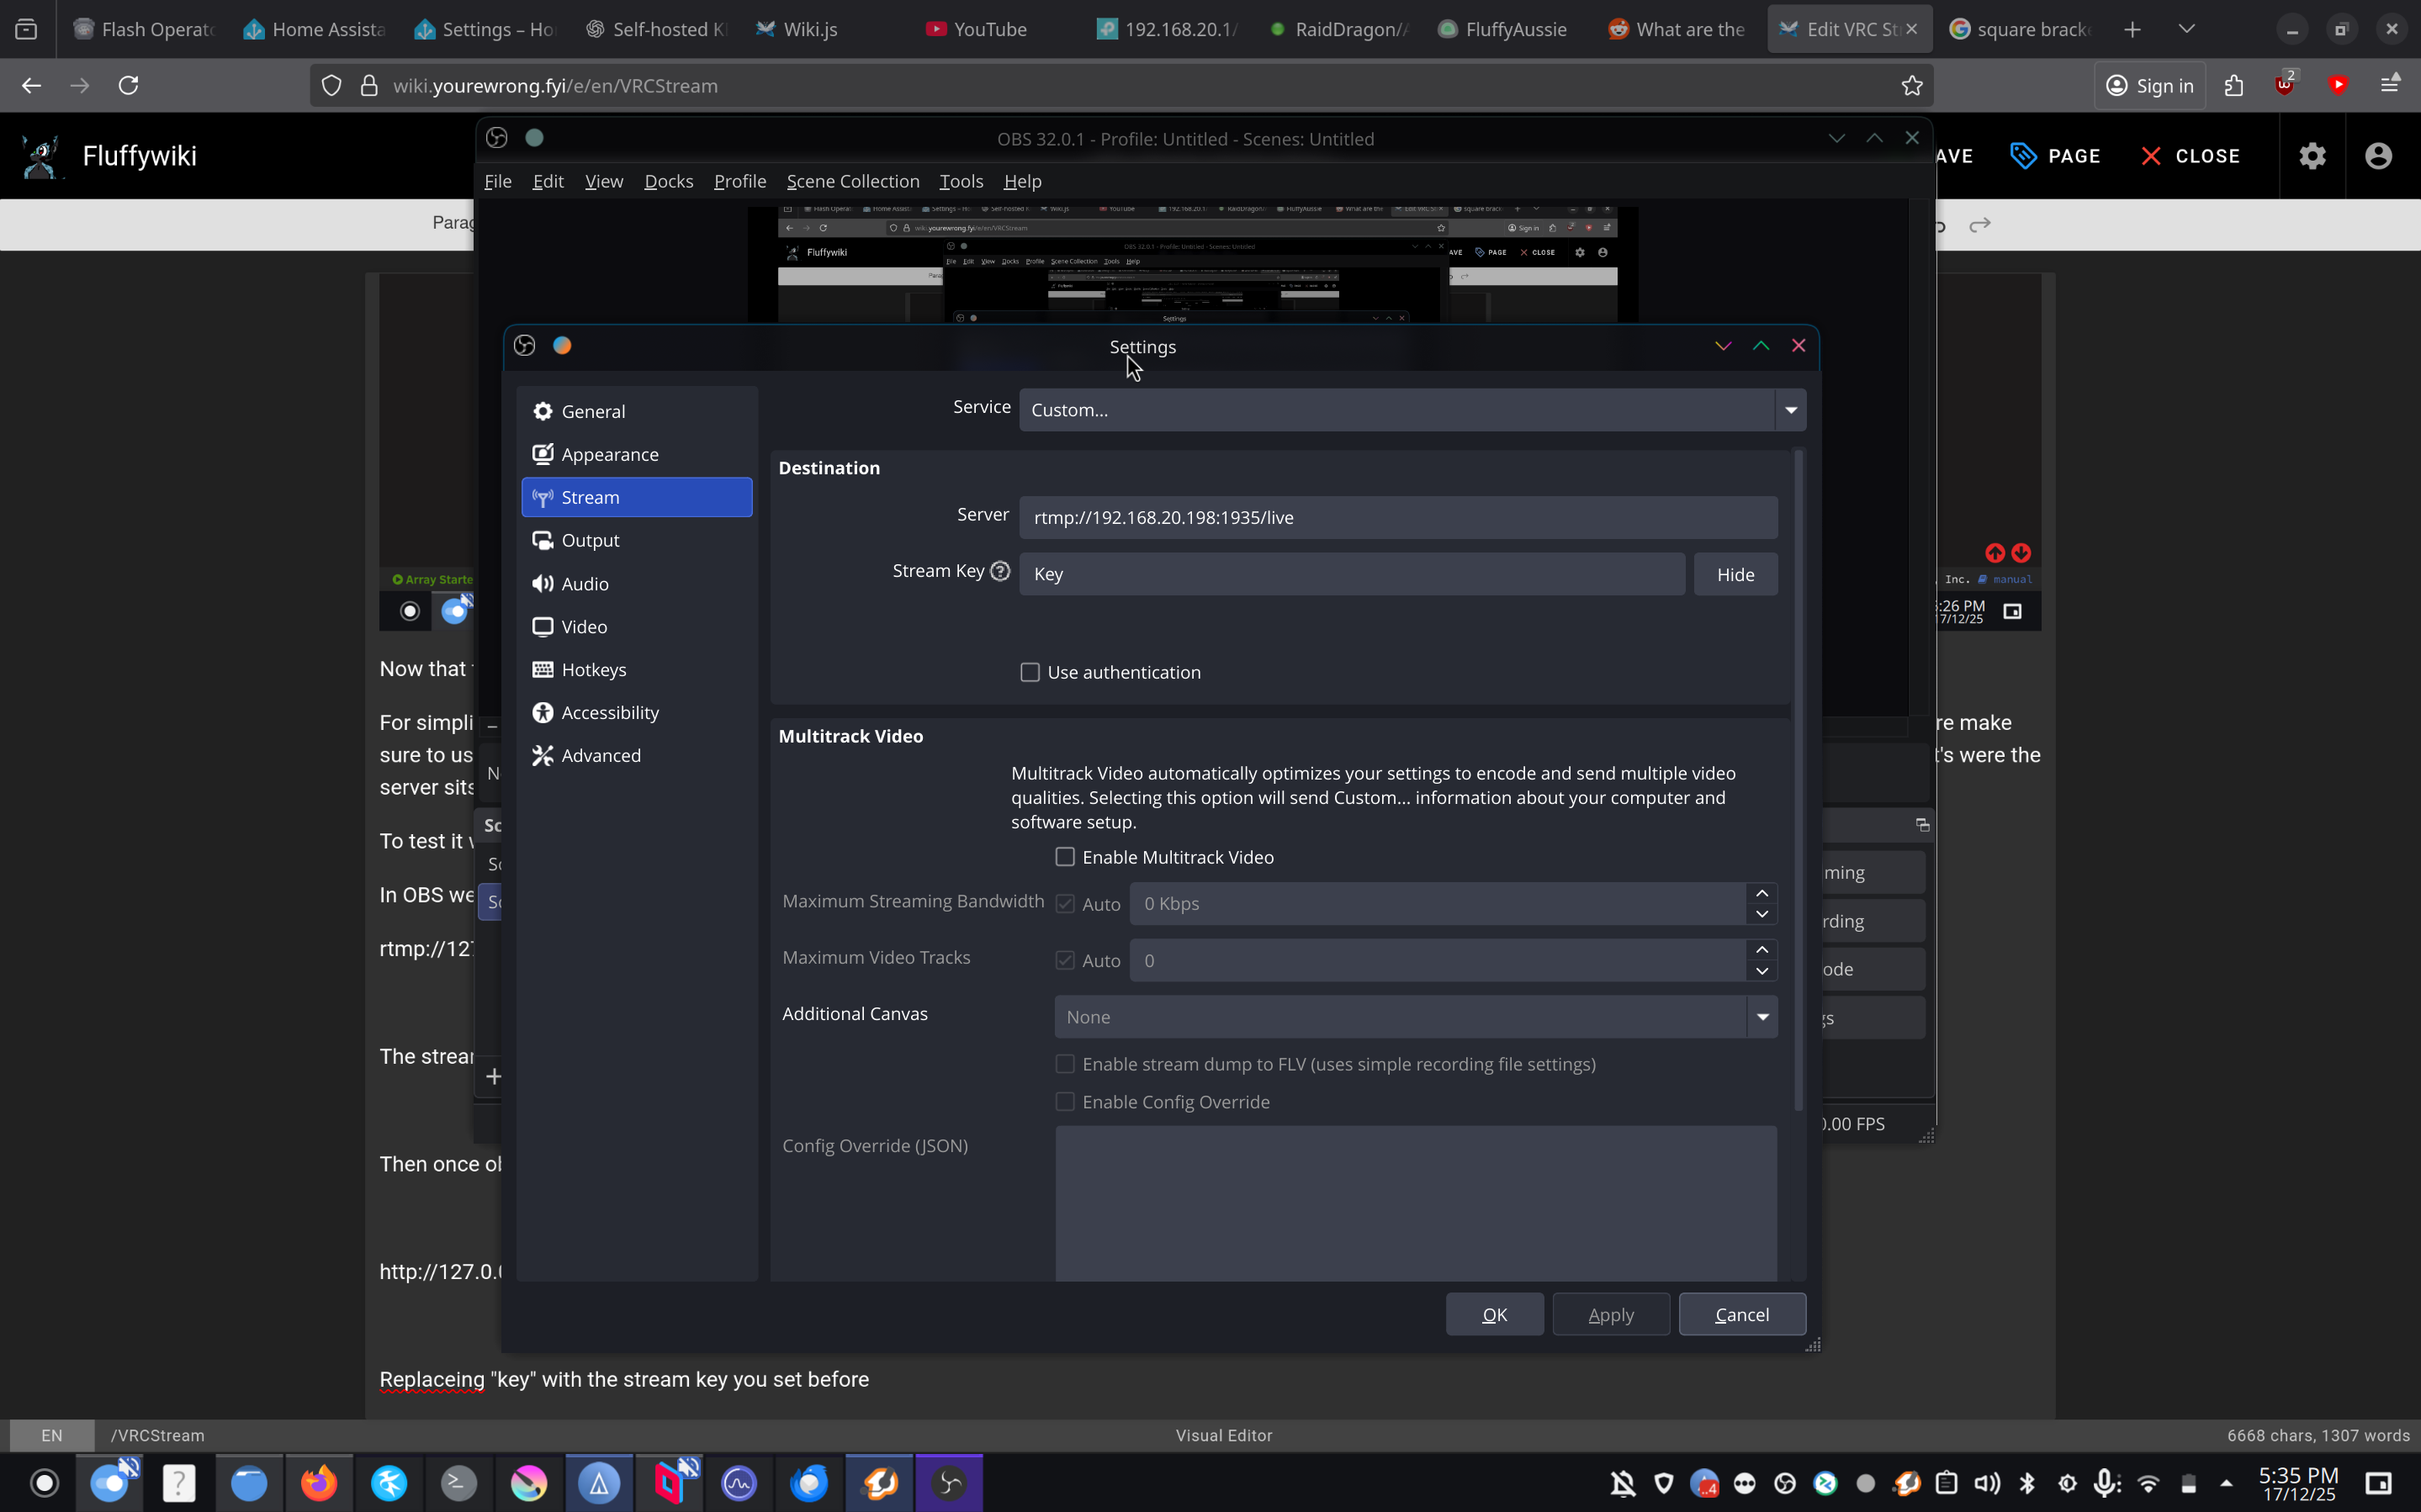
In OBS we want to update our setting to stream to our server, To do this we need to go to custom the enter our server as the server to stream to with the following
rtmp://127.0.0.1:1935/live
The stream key can be anything, but make sure to note what you did use, As we do need it later.
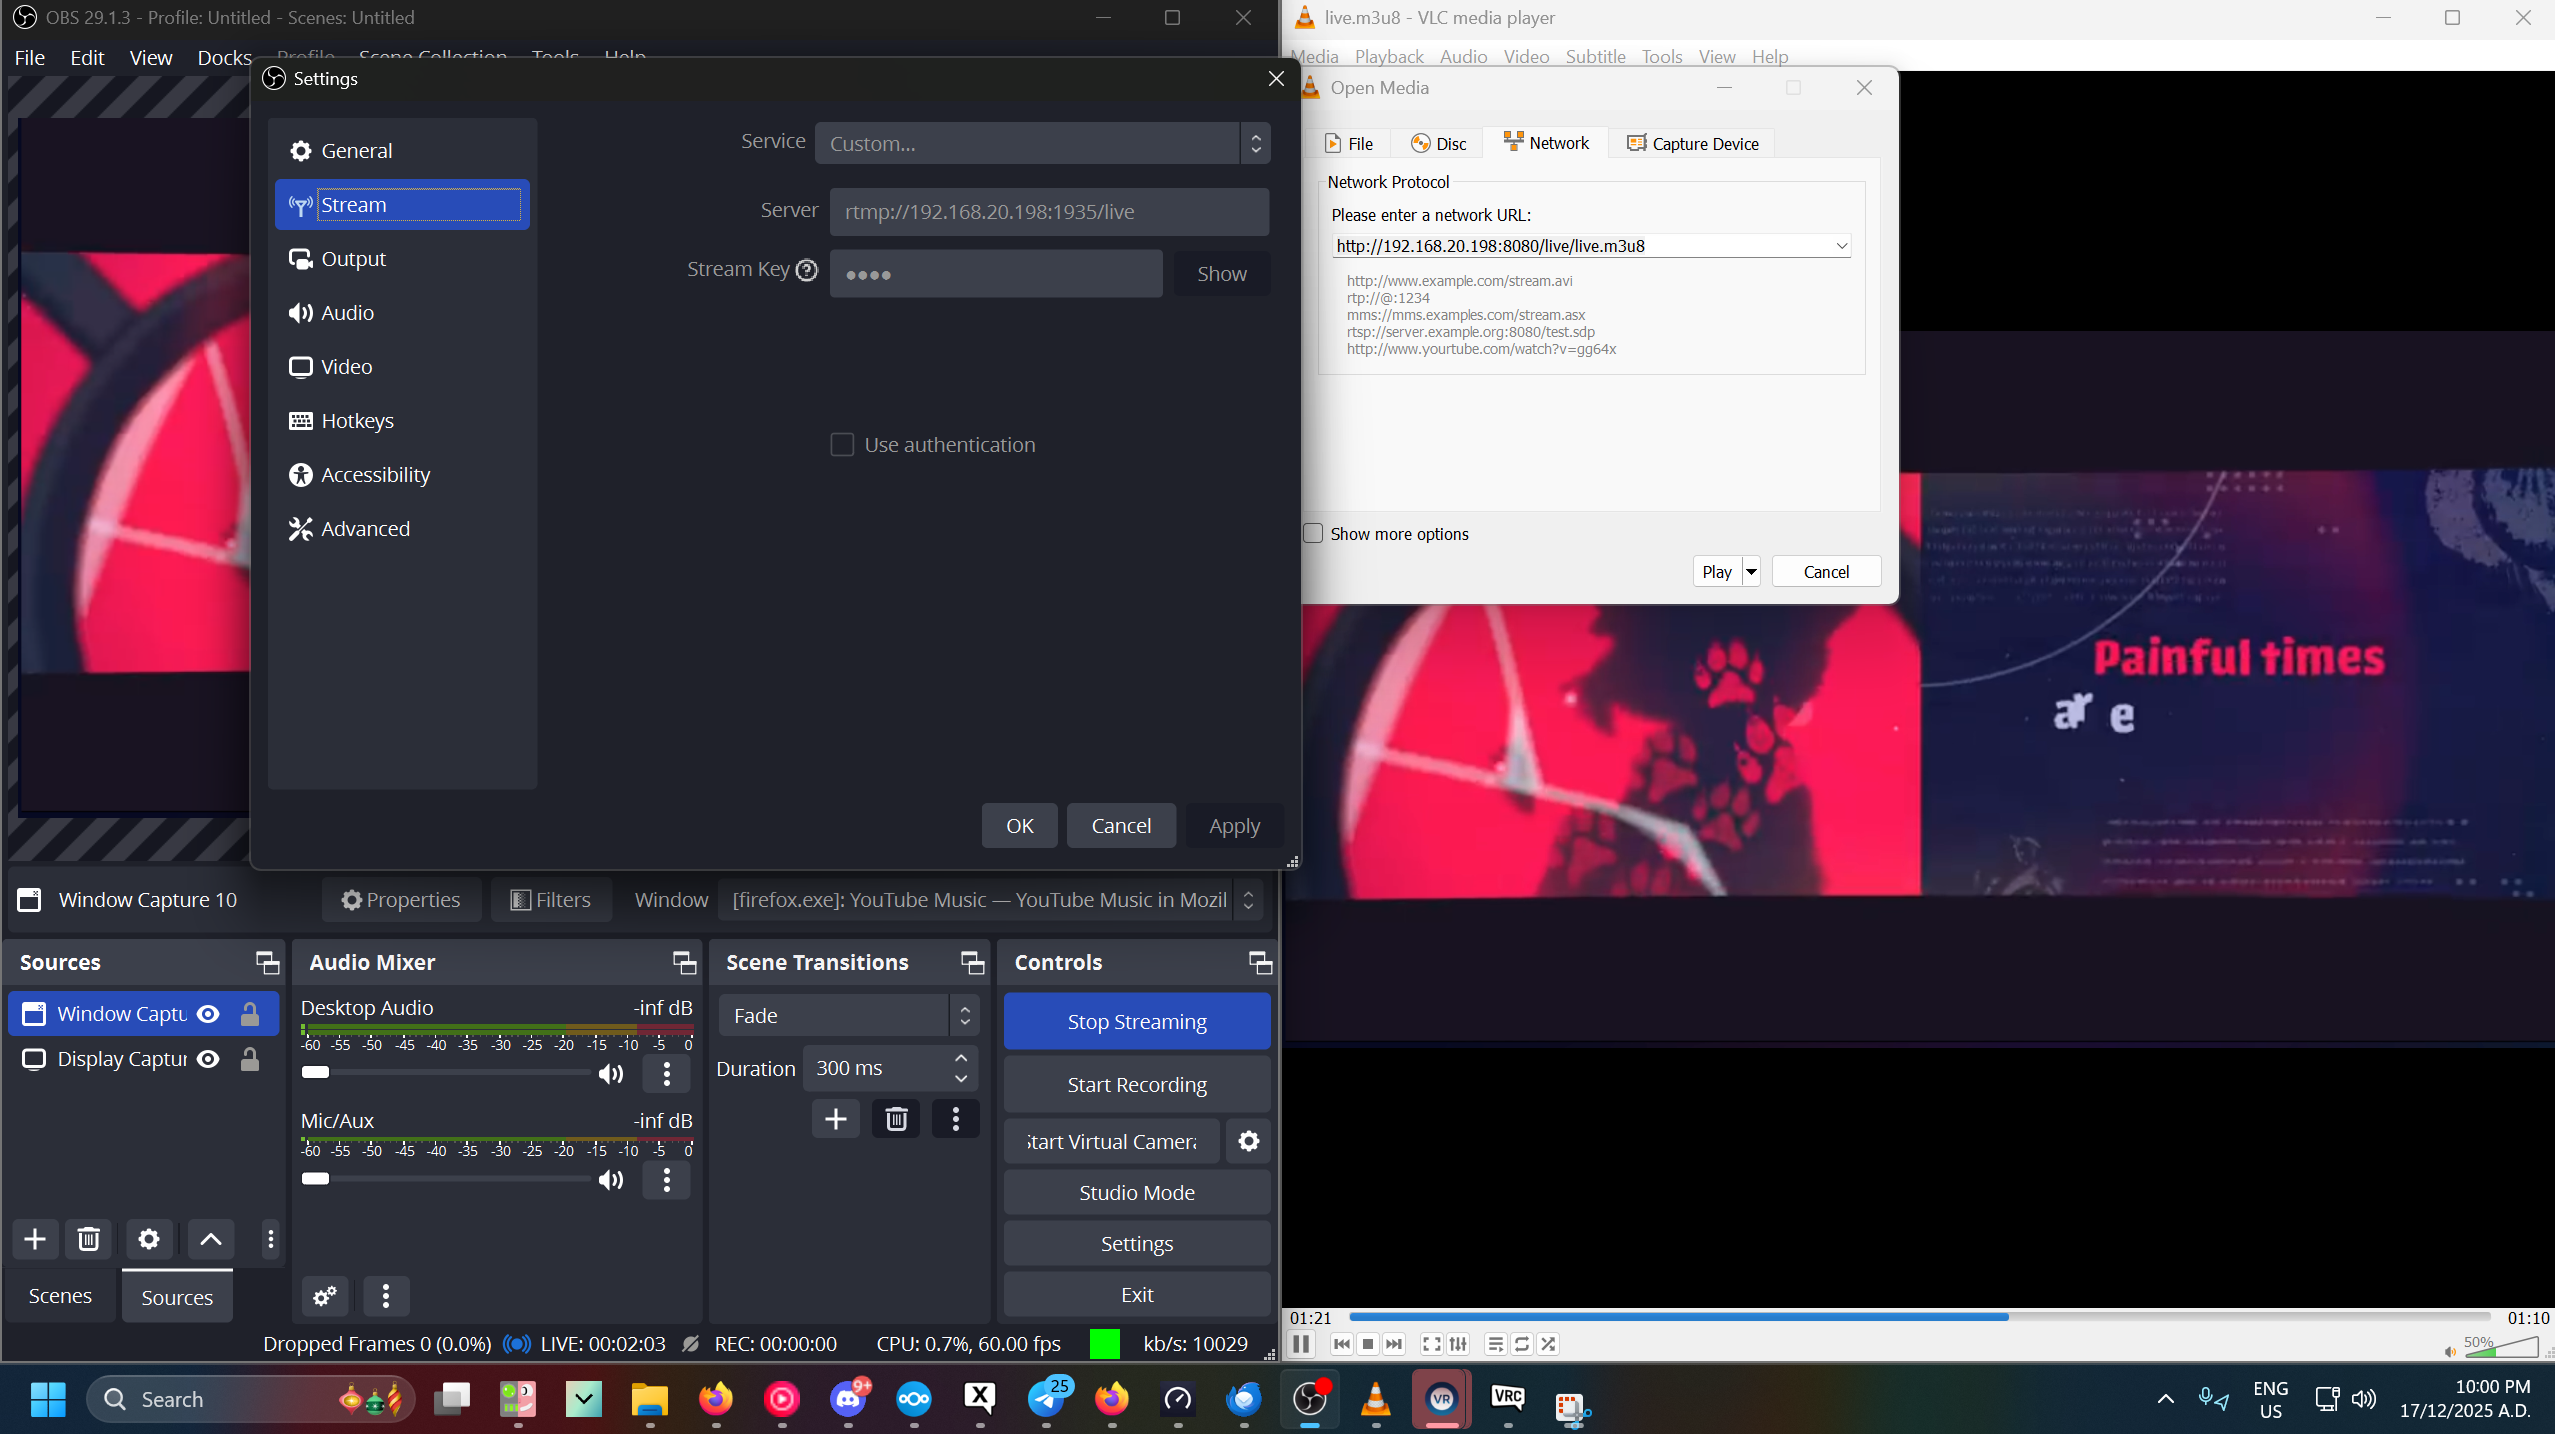
Then once obs is streaming in vlc open up the stream, you can do so using this URL in VLC
http://127.0.0.1:8080/live/key.m3u8
Replacing "key" with the stream key you set before
Now you should see whatever obs is streaming, if you don't.... idk what you missed as this is just text. And i cant see what you have been doing.
¶ Getting the stream on the public internet
Now that this works we can make it so everyone can see our stream because at the only you can access it, As i said in the requirements, you might not already own a domain name, if that's the case you will need to buy one, you can realistically get one from anyone, like Namecheap, VetraIP, Go daddy. Or many other options. In this case, I use CloudFlare. This also will work more cleanly with other CloudFlare services we will end up using as well, But is not a requirement, you can also get away with directly using your public ipv4 and or ipv6 address and using port forwarding if applicable. But from my experience this will not work on quest, And also just does not look as nice, And for some this might not be a option if your under a ISP cgnat (or you just plan don't have access to change firewall settings). The tunnel we setup later "bypasses" this issue.

¶ Setting up the tunnel
Now that we have a domain name we can start setting up the tunnel
This will change as cloud-flare love to change there interface
But ill give a quick run down of the basics
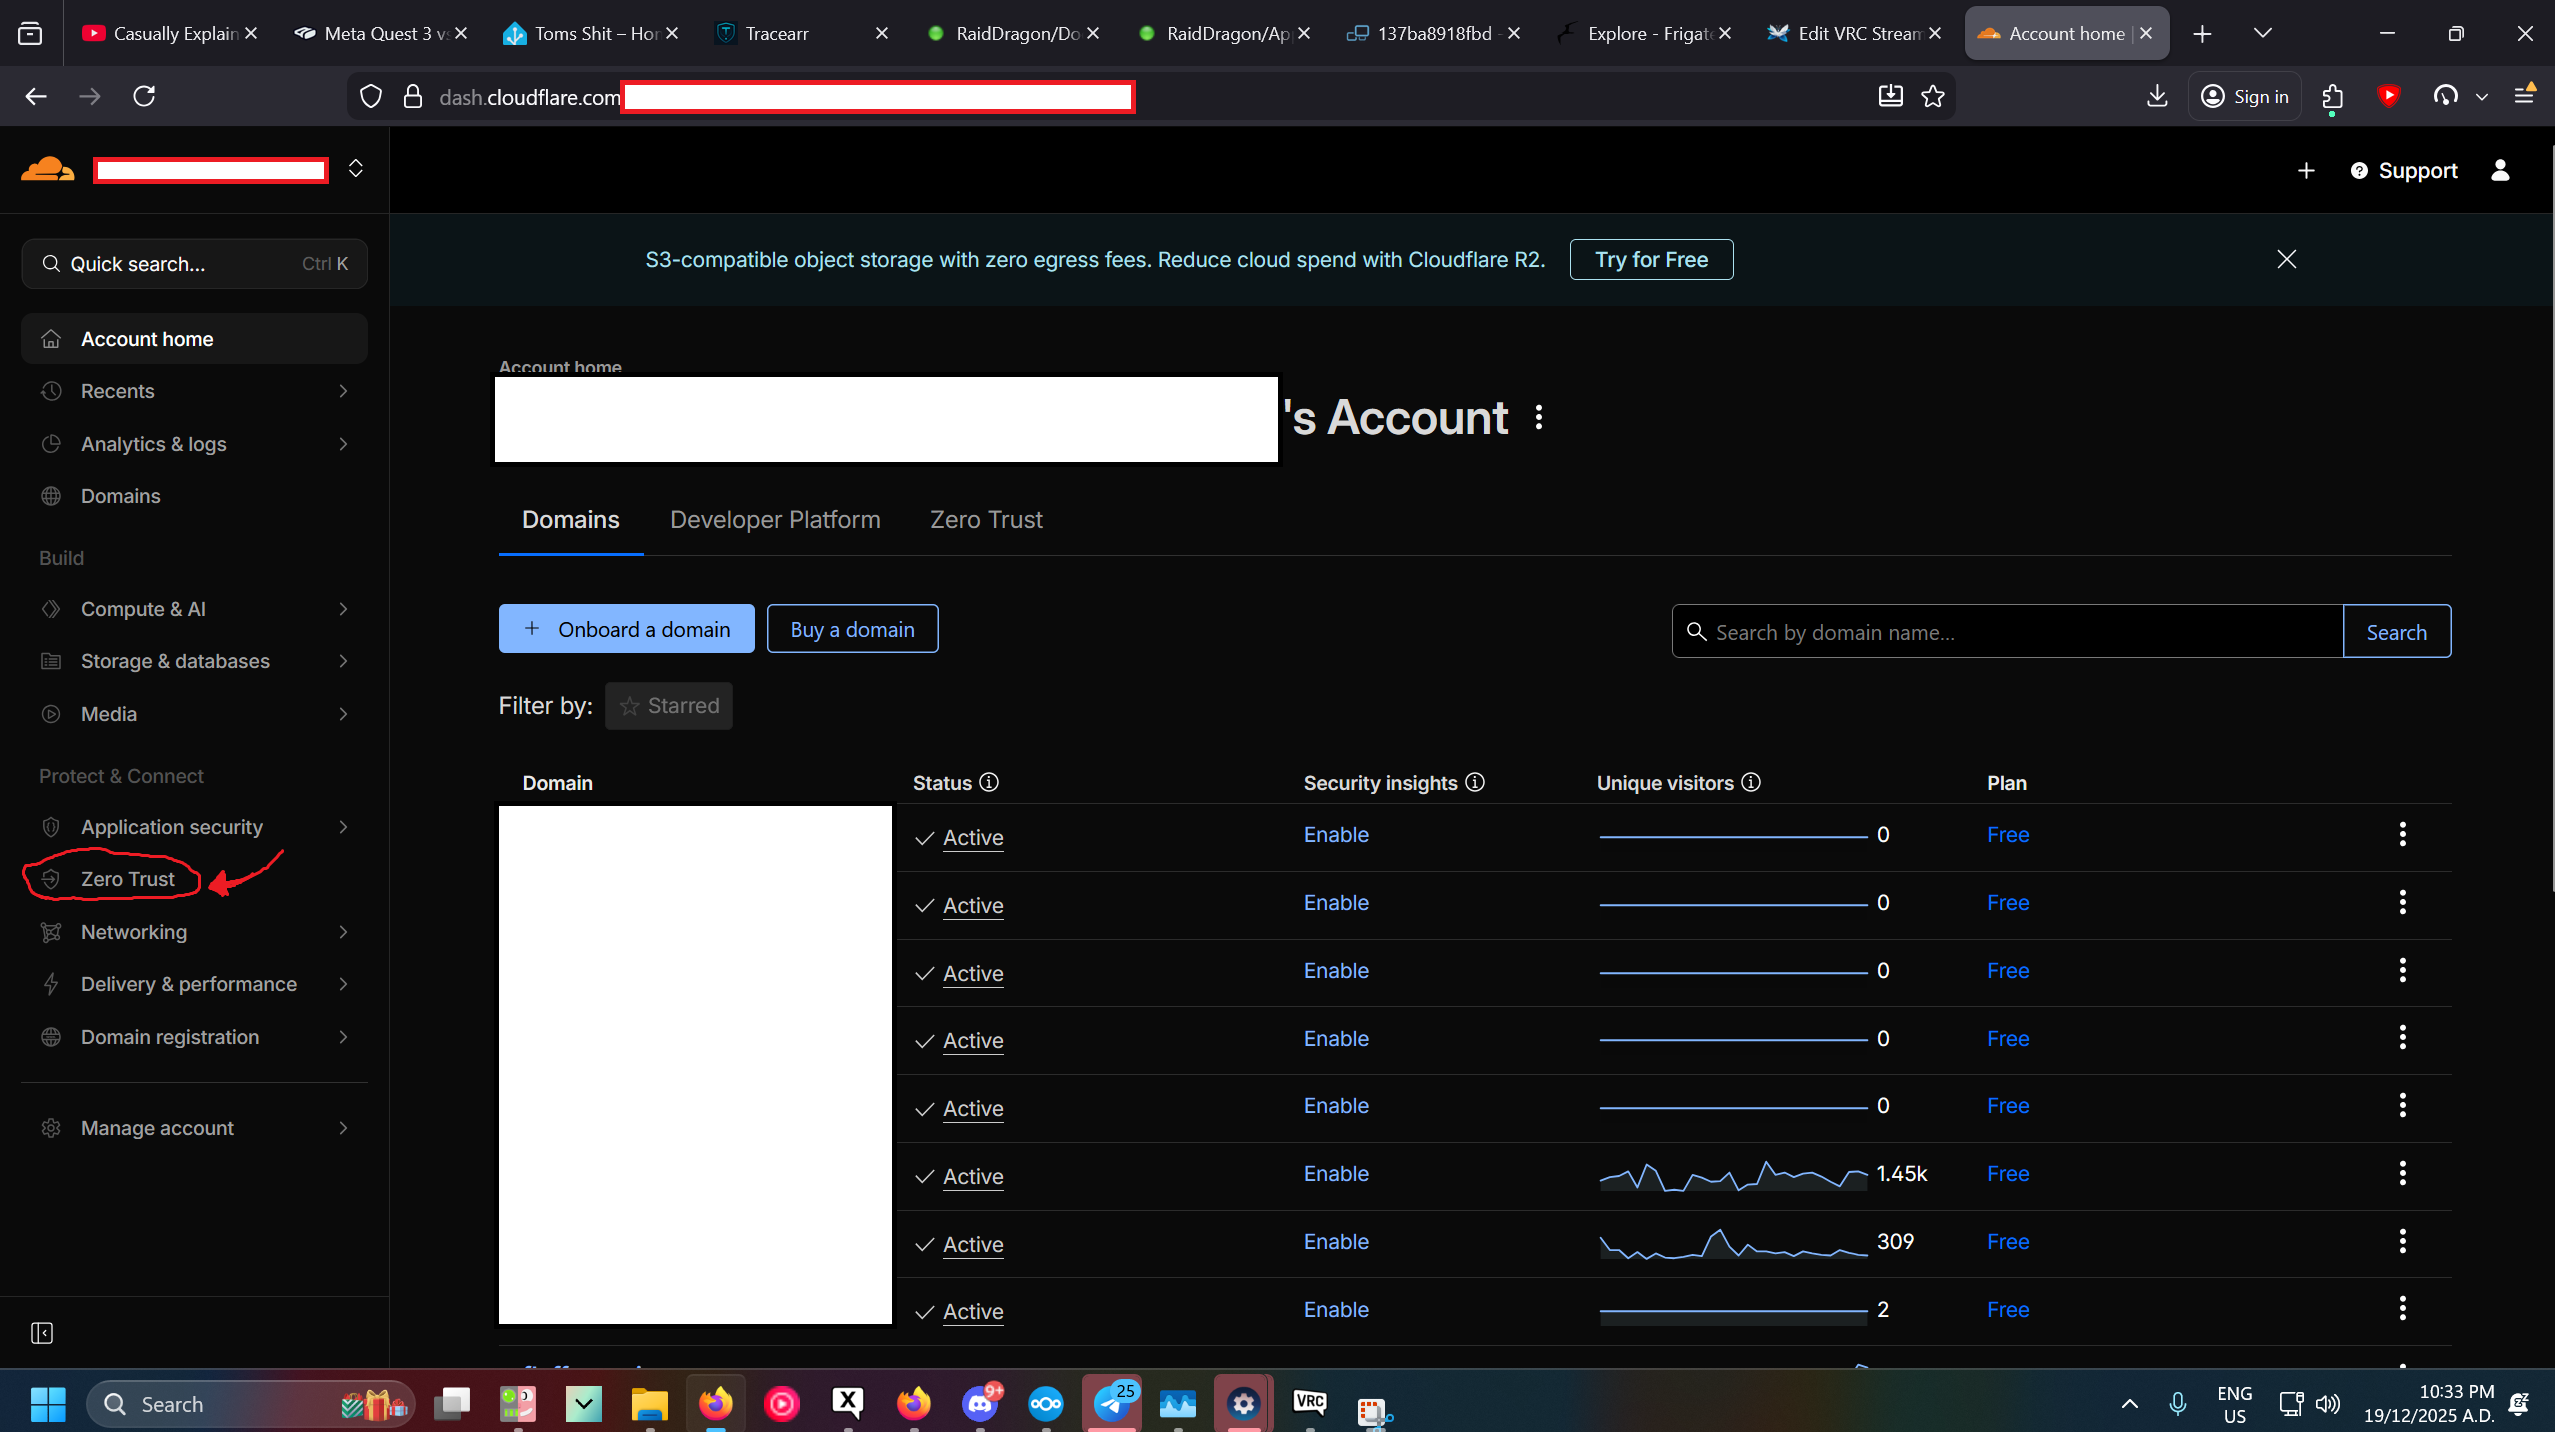
First goto "zero trust" good luck finding it its icon have moved like.. 5 times this year i swear
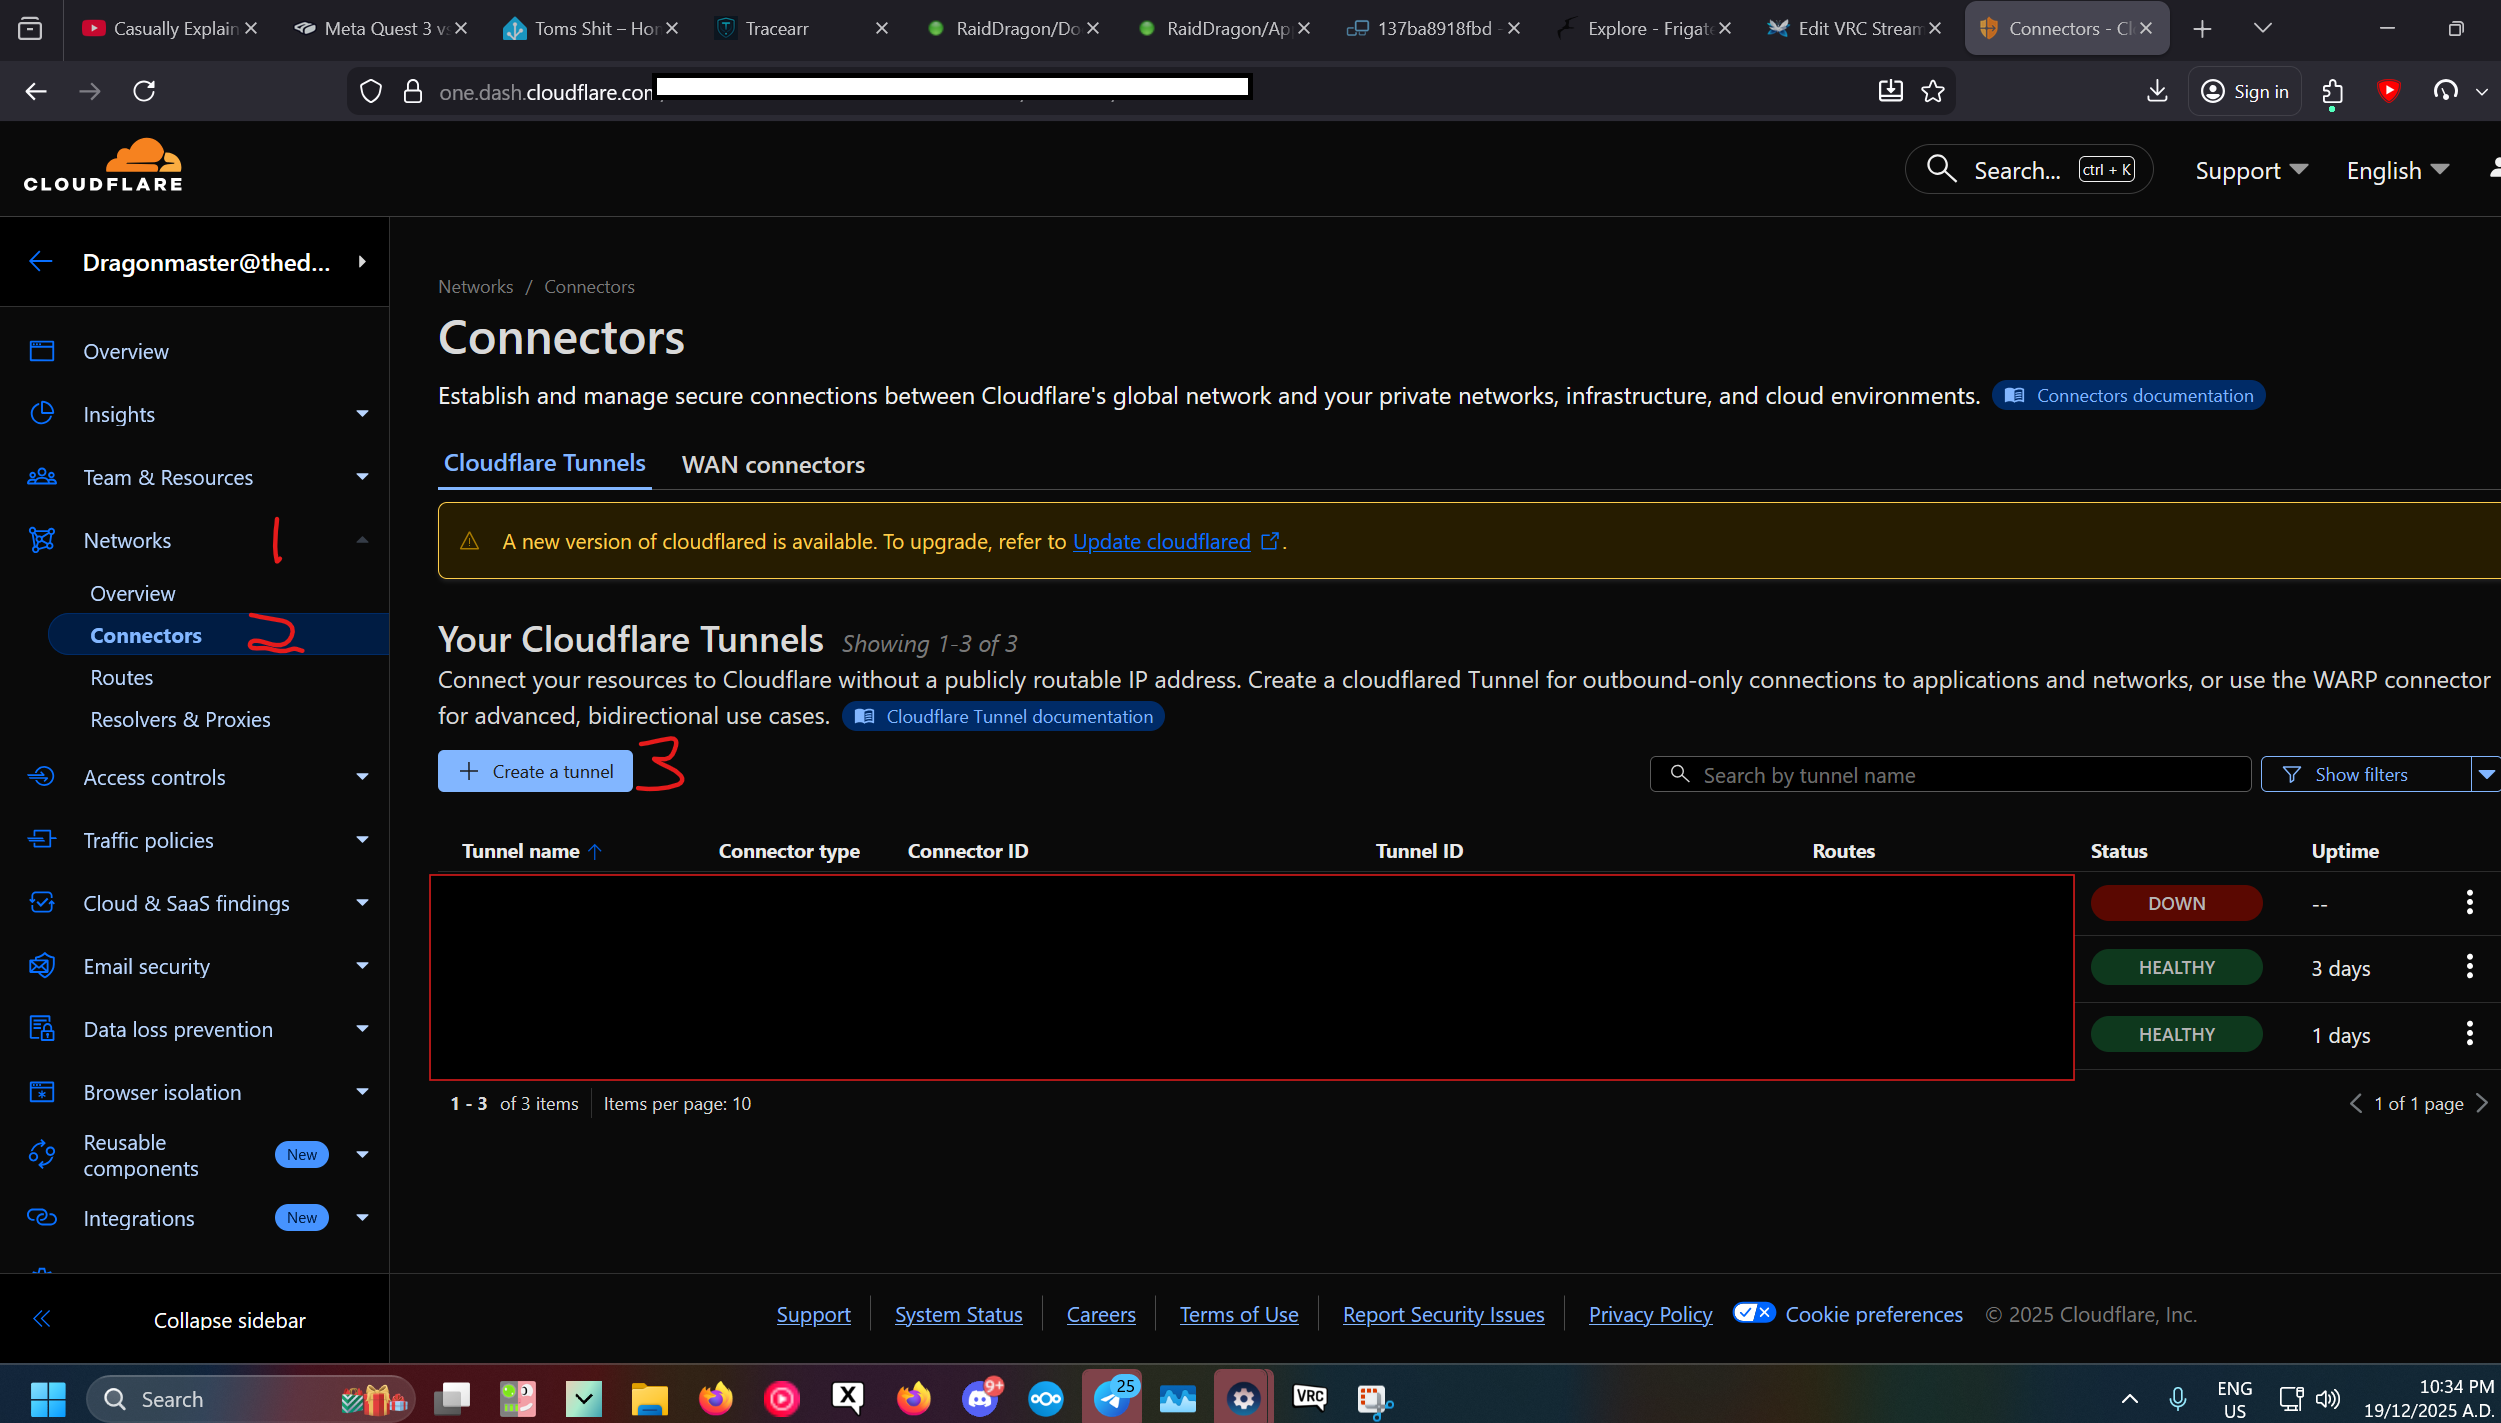
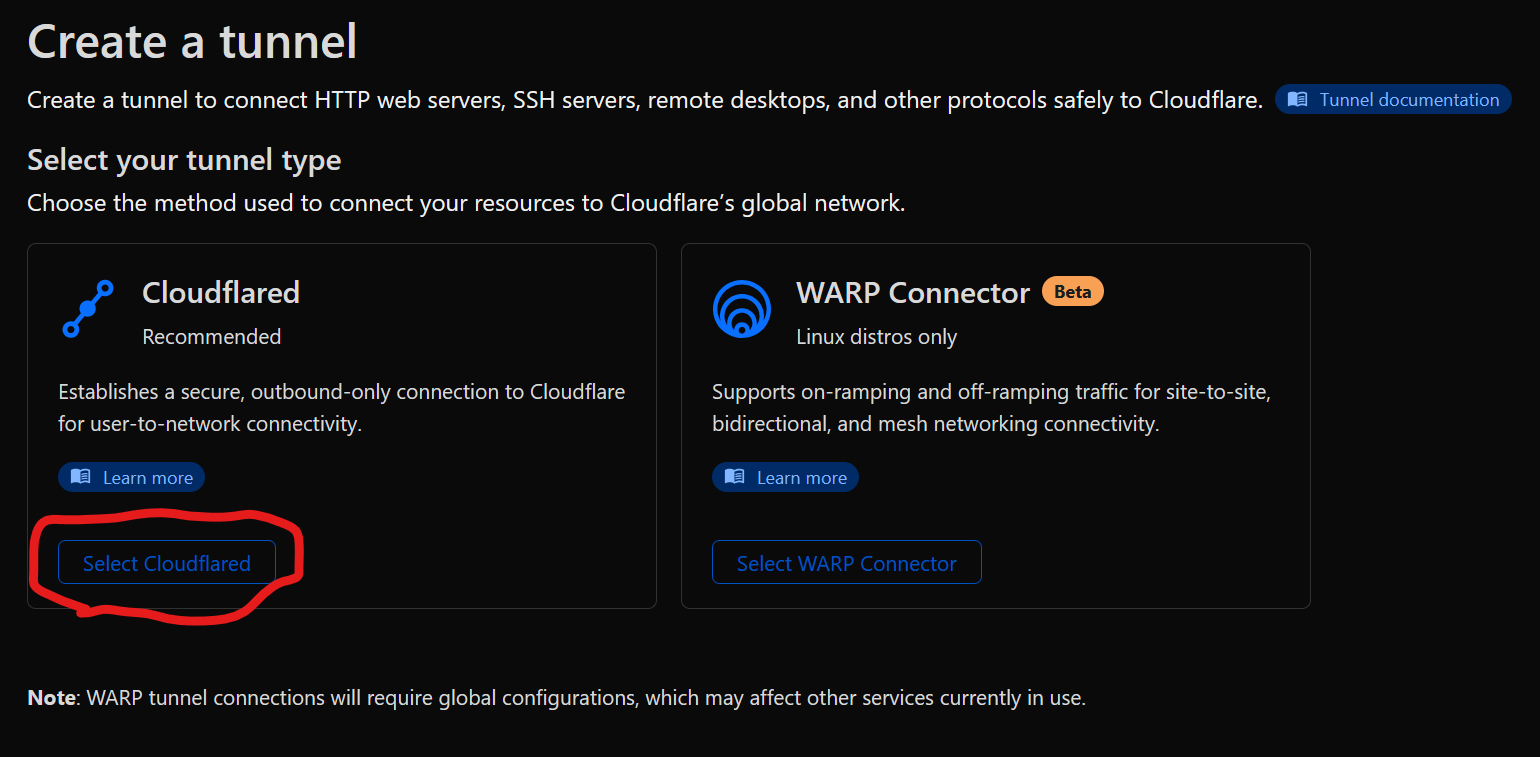
Then goto networks then connectors and then create a tunnel (assuming you have not already setup one in the past)
Then in the tunnel we need to make it “cloudflared” and set a internal name

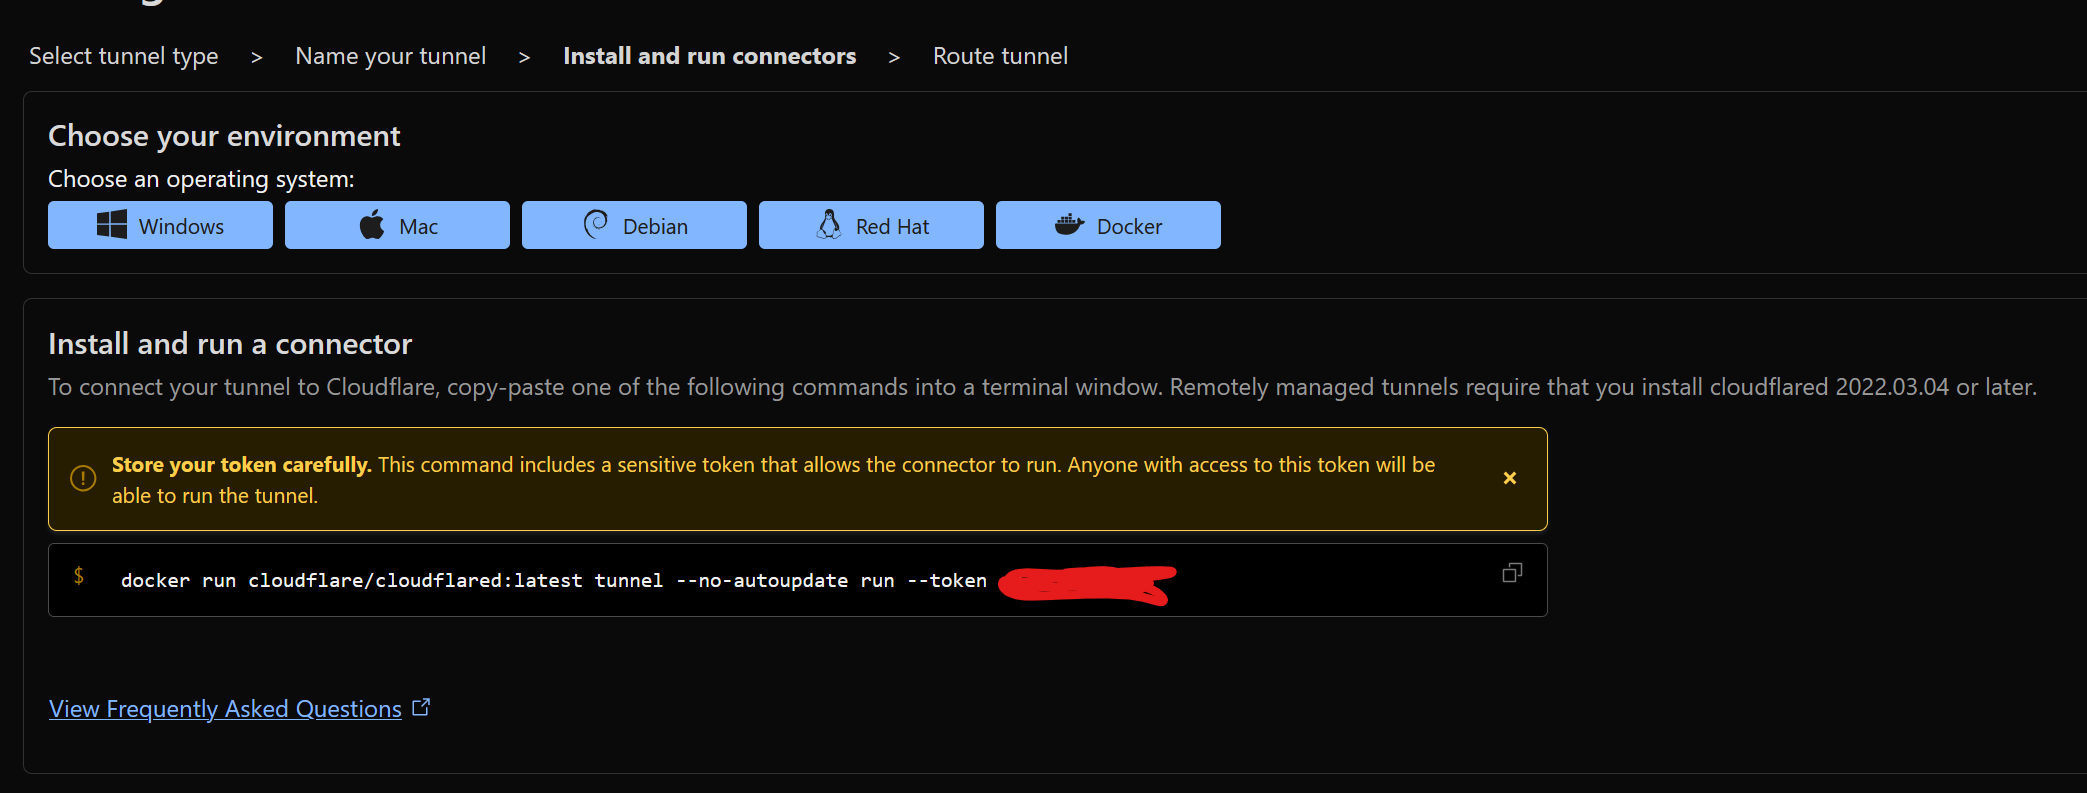
Next you need to install the connector somewhere were it can reach our server, This is most likely docker. Cloud-flare gives you instructions on how to do it on what ever systems you use though.
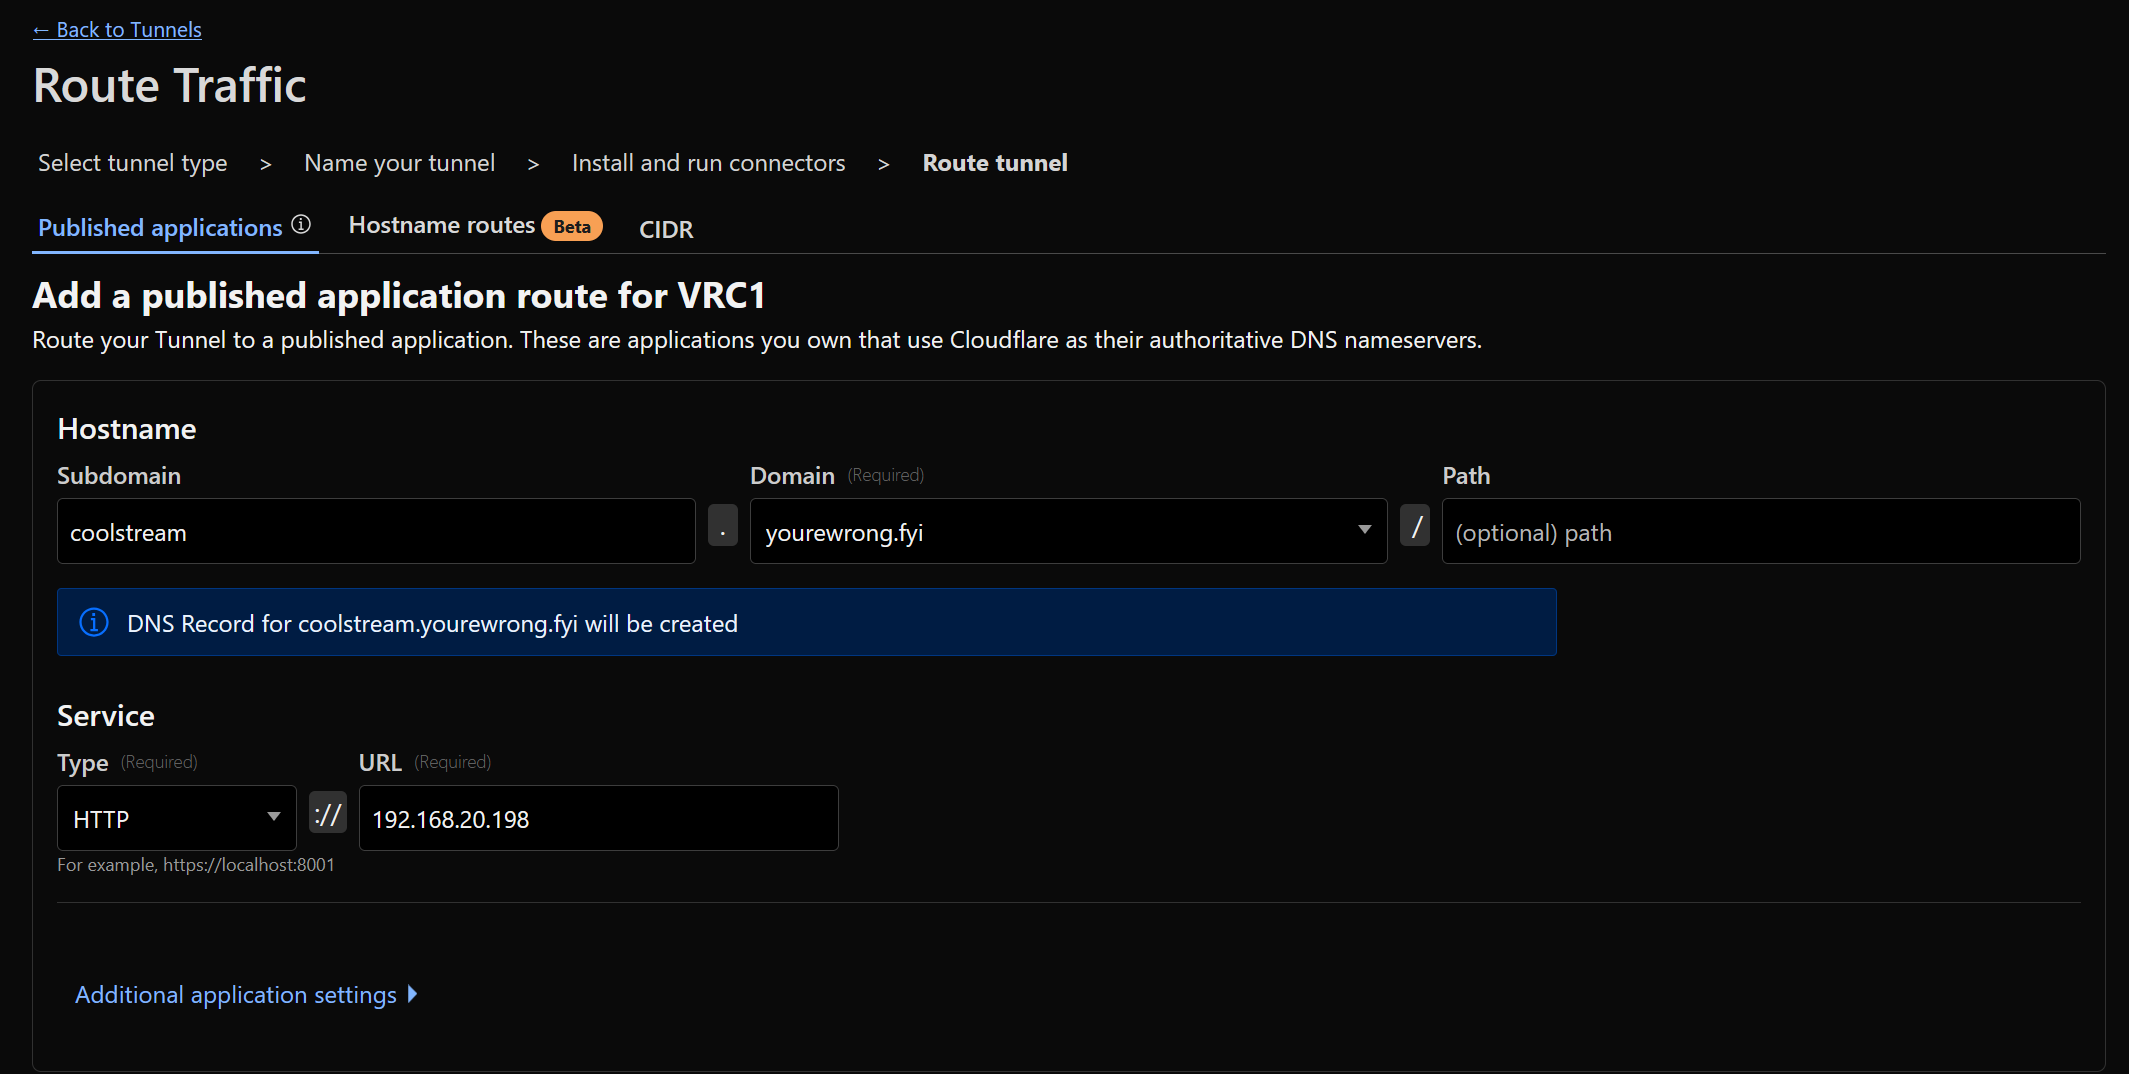
Subdomain is optional, Also select the domain name you are going to use, If you have more then one.
coolstream.cooldomain.com
coolstream Subdomain cooldomain Domain name com Top-Level Domain (TLD)
For the protocol we will use HTTP
And for the host we will enter the Ip and port of our http server
127.0.0.1:8080 (changing if you are using a different ip or port)
¶ Testing over the interwebs
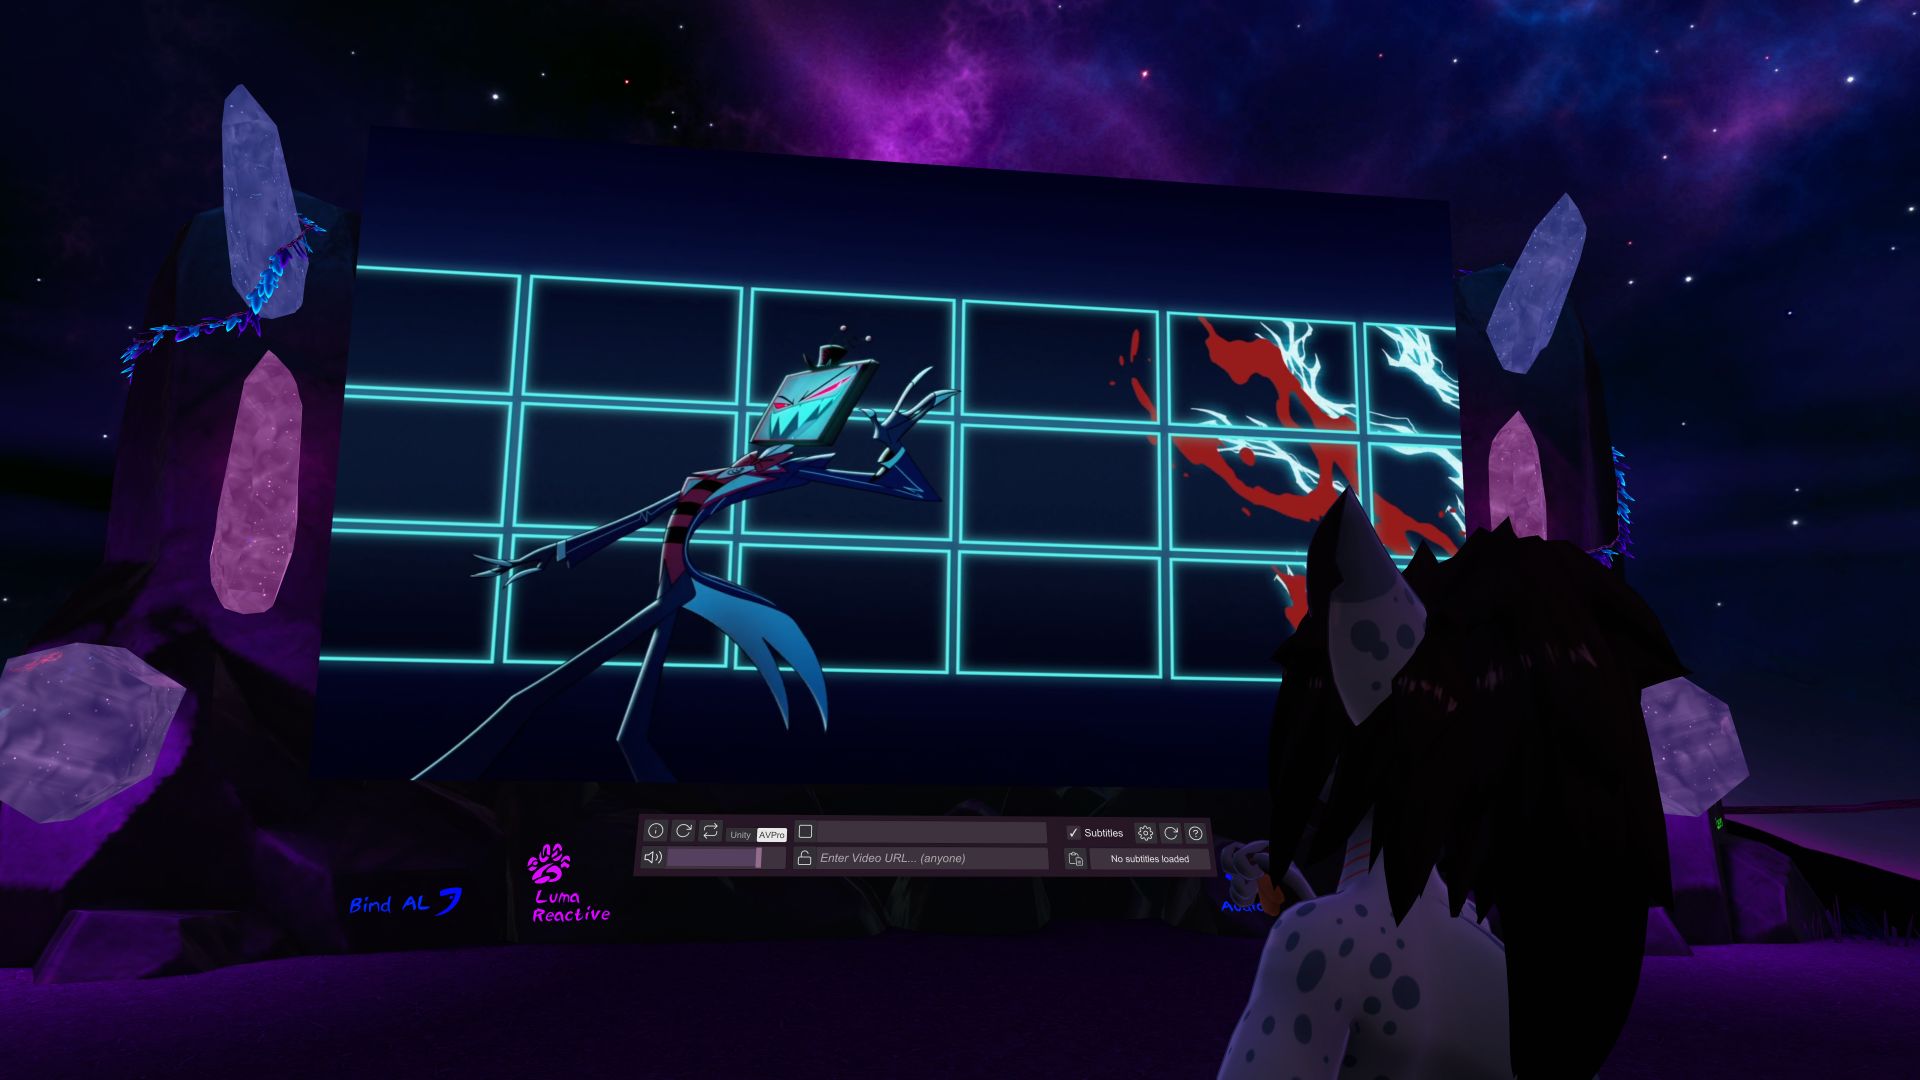
Now going to vlc and using https://coolstream.cooldomain.com/live/key.m3u8 should now work
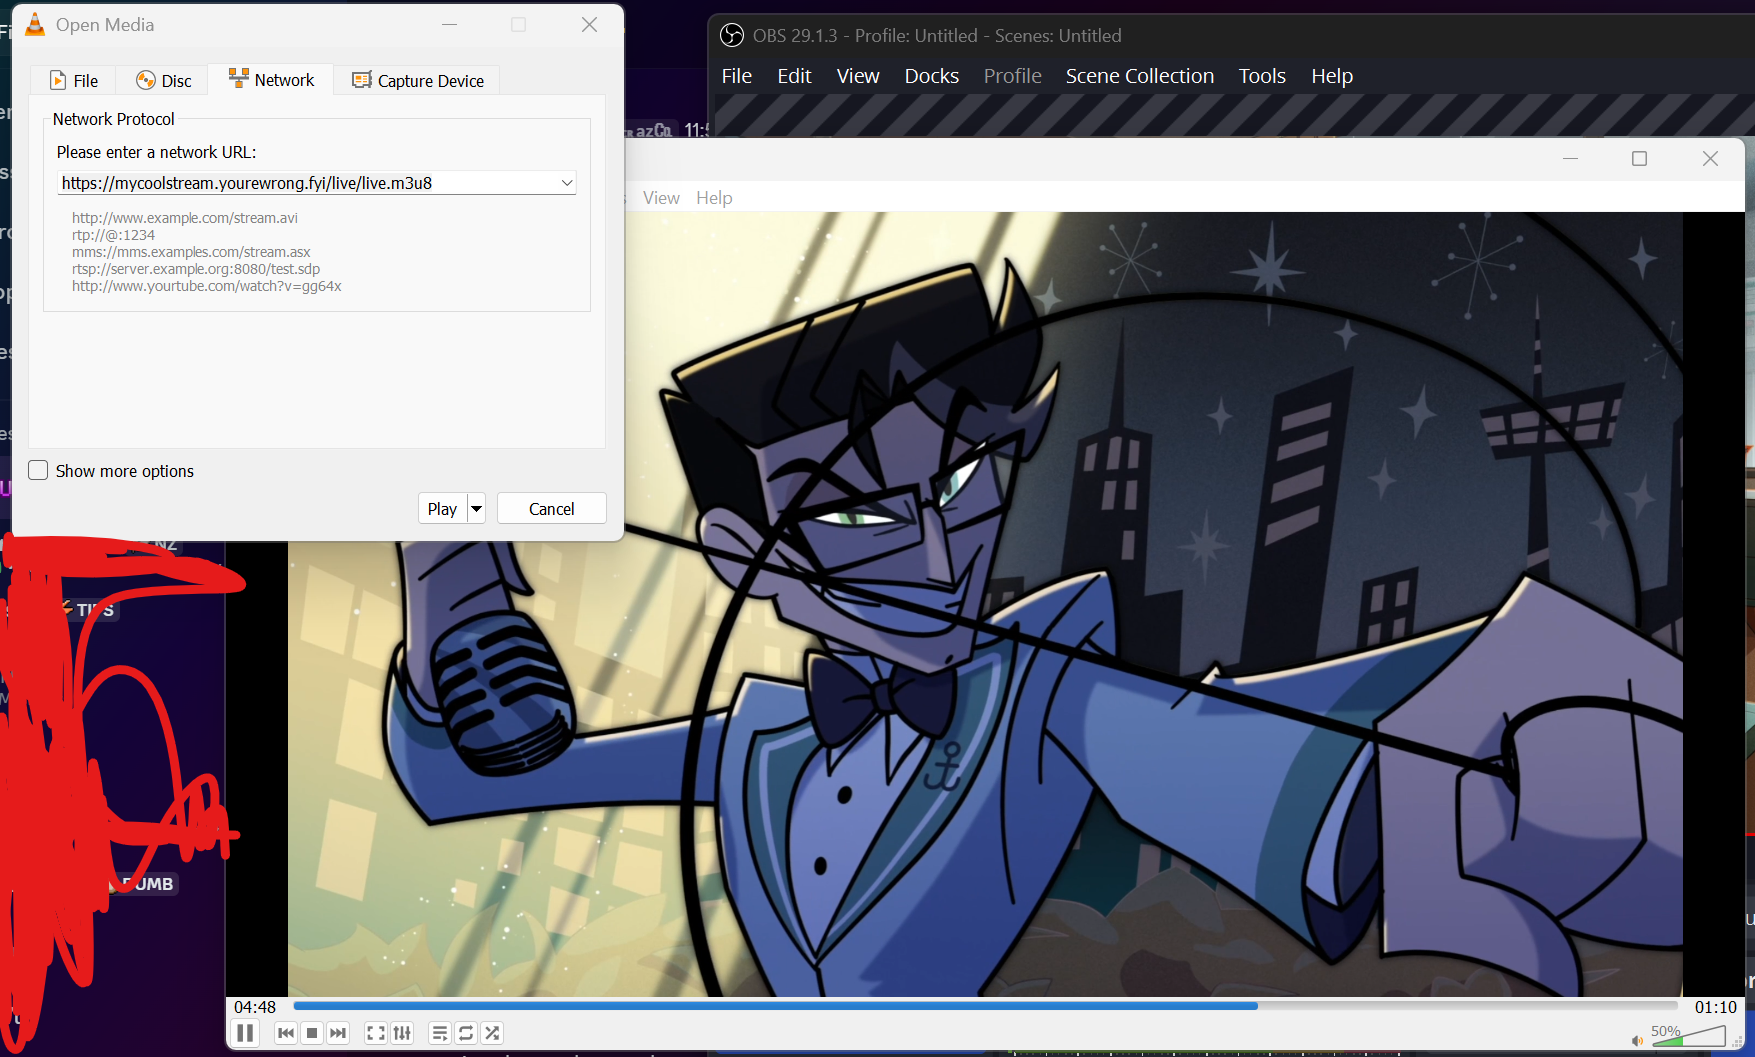
And if that's working. This also means it should now work in vrc. So now bully some friends to test it out.
¶ Extra, What to stream
This is part is a bit more information as to how i use this setup.
You may have noticed with this walk-thru i never mentioned what to put on the stream yet. That's cos i want you to put what ever you want, For most you may just use a web-browser on your main computer.
And with that one biggest issue you may get is that you then hear the audio twice, This can be annoying especially with the stream being 1 to 2min delayed (There is ways to fix this, by using RTMPS rather then HTTP, But Thats harder to work with from my experience, Also does not fix the audio issue…)
¶ Streaming on the same system as your playing on
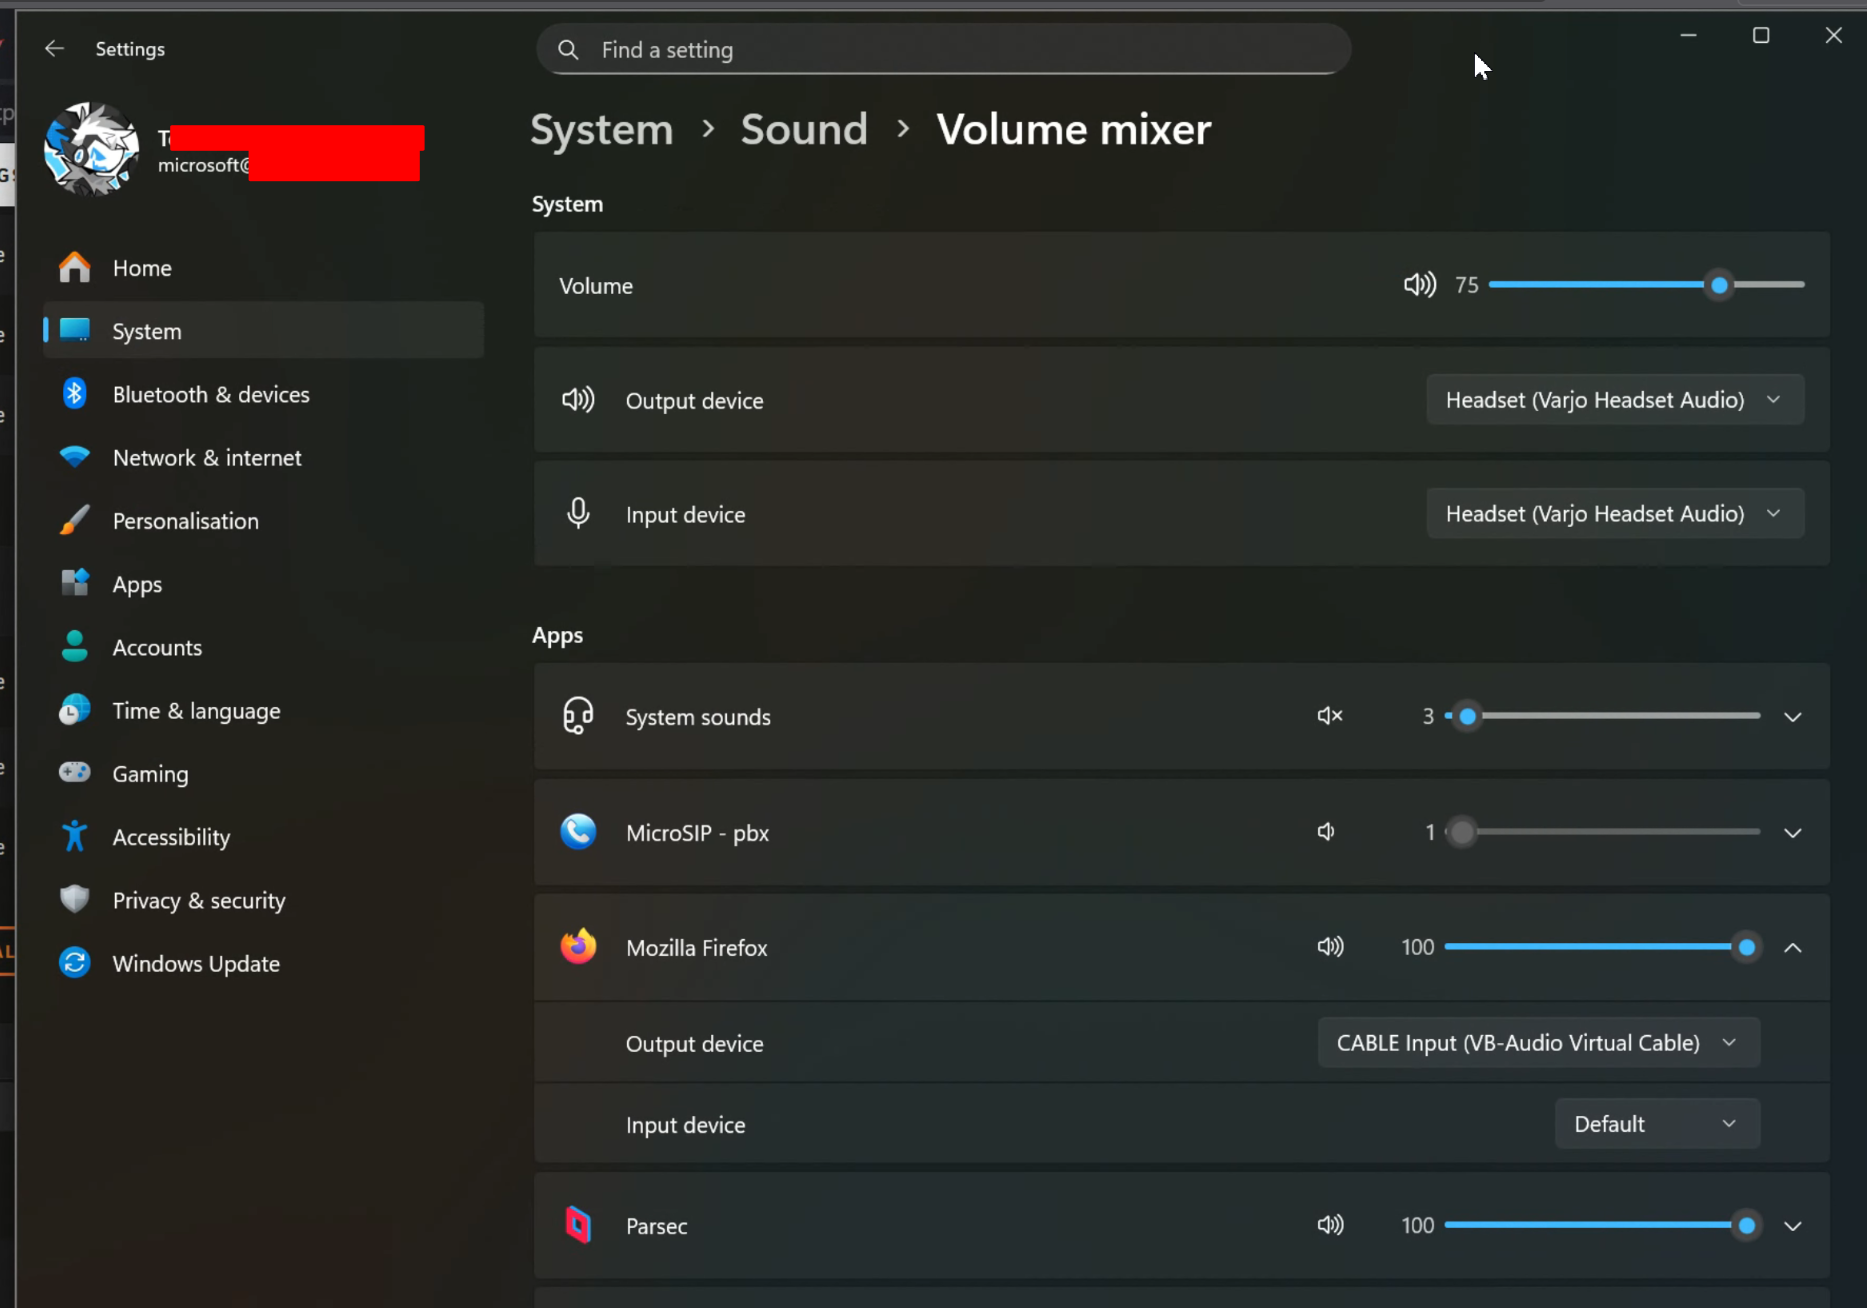
If you are just going to sick to just using a web browser on the same system. You can use something like VB-Audio to make a virtual audio device then force your browser to use that, This will make it no longer play for yourself until its in the game.
https://vb-audio.com/Cable/
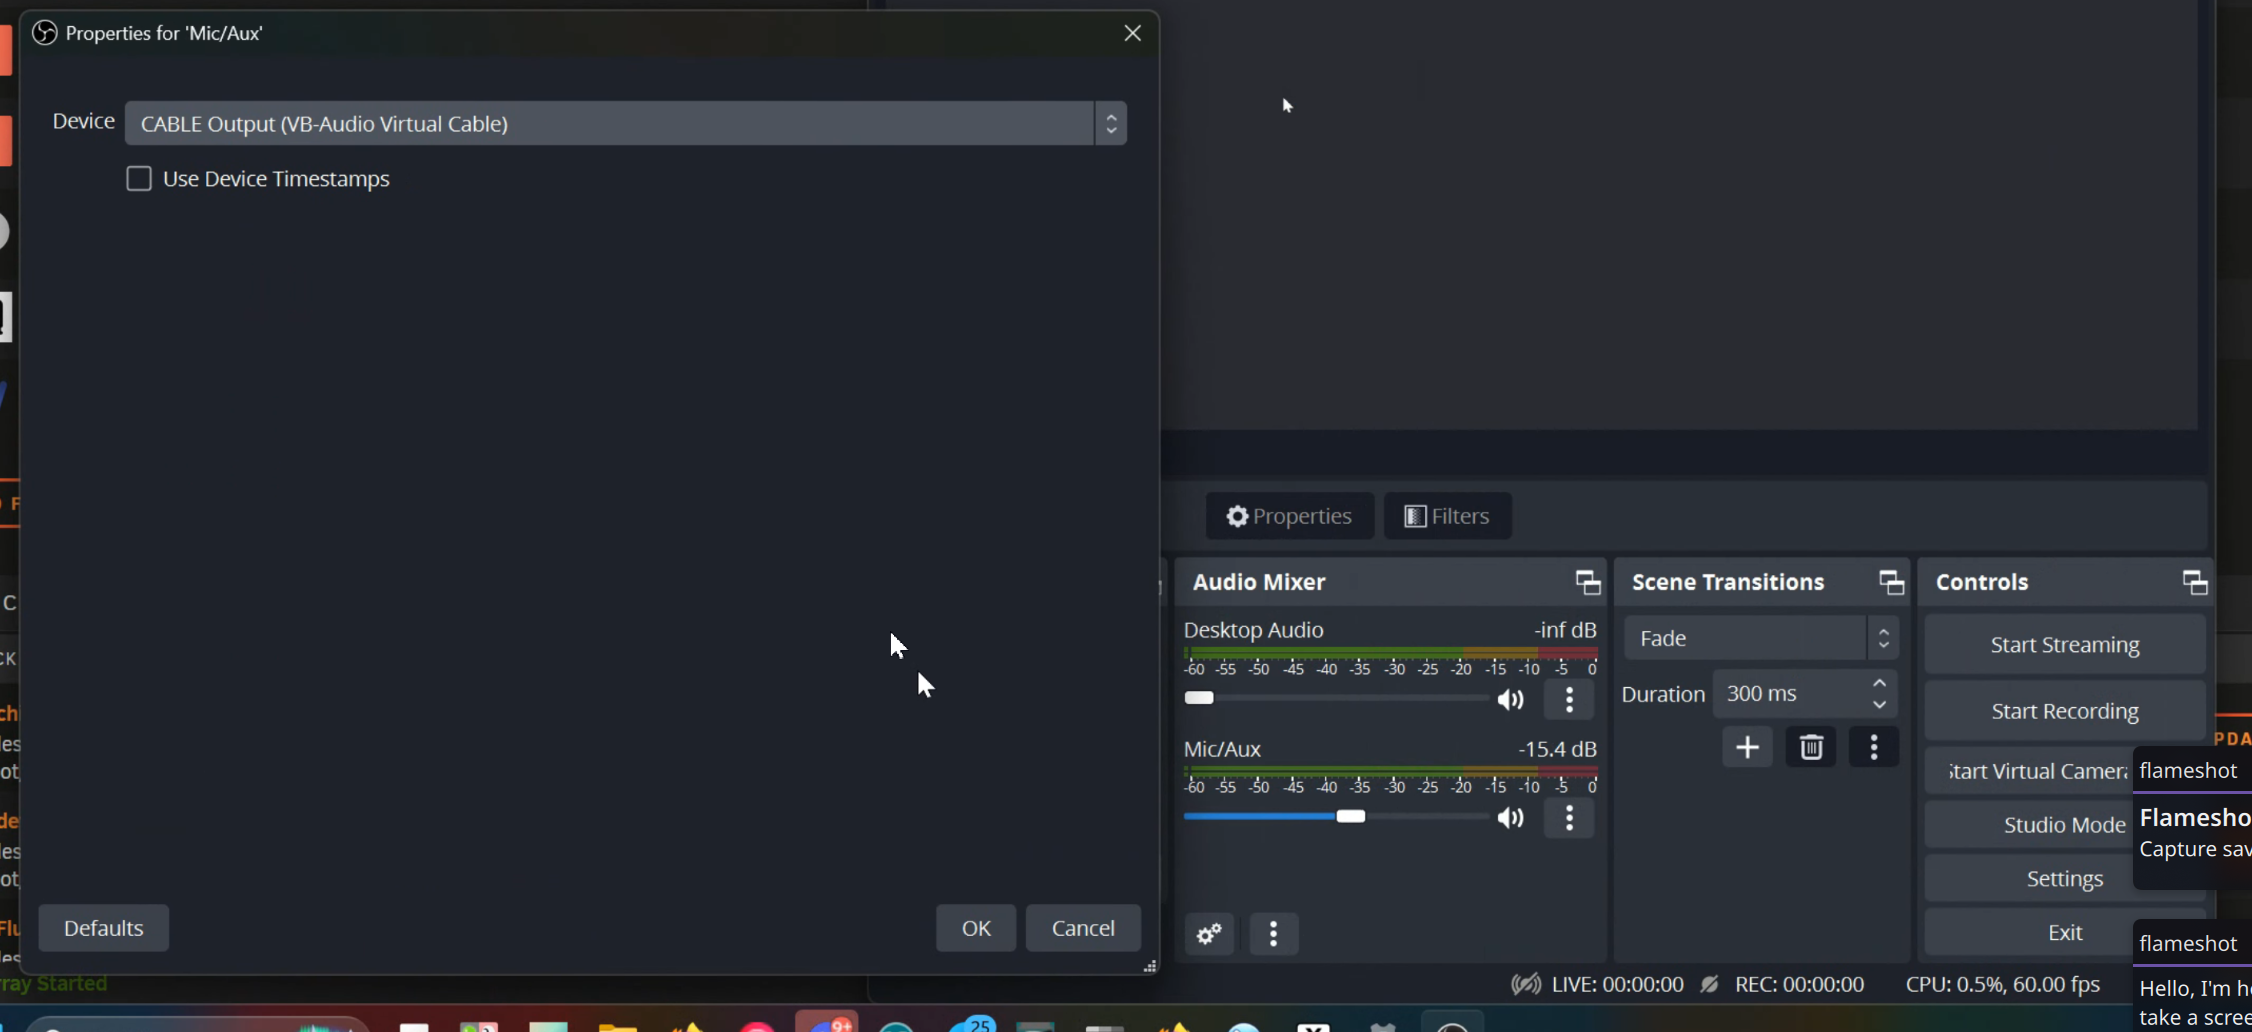
Also pro tip in the obs audio devices, mute your mic, and also make sure its not picking up all your desktop audio so voices are not duplicated, And because we are using a Virtual cable, its mapped to a “mic” we can just use this as the audio for obs (otherwise obs does now have a application only audio capture option that will also work)
While this will work for most, And how i encourage most to use this setup. There is more advanced options you can use with this, But i said i would tell you how i do this.
¶ Using a dedicated system
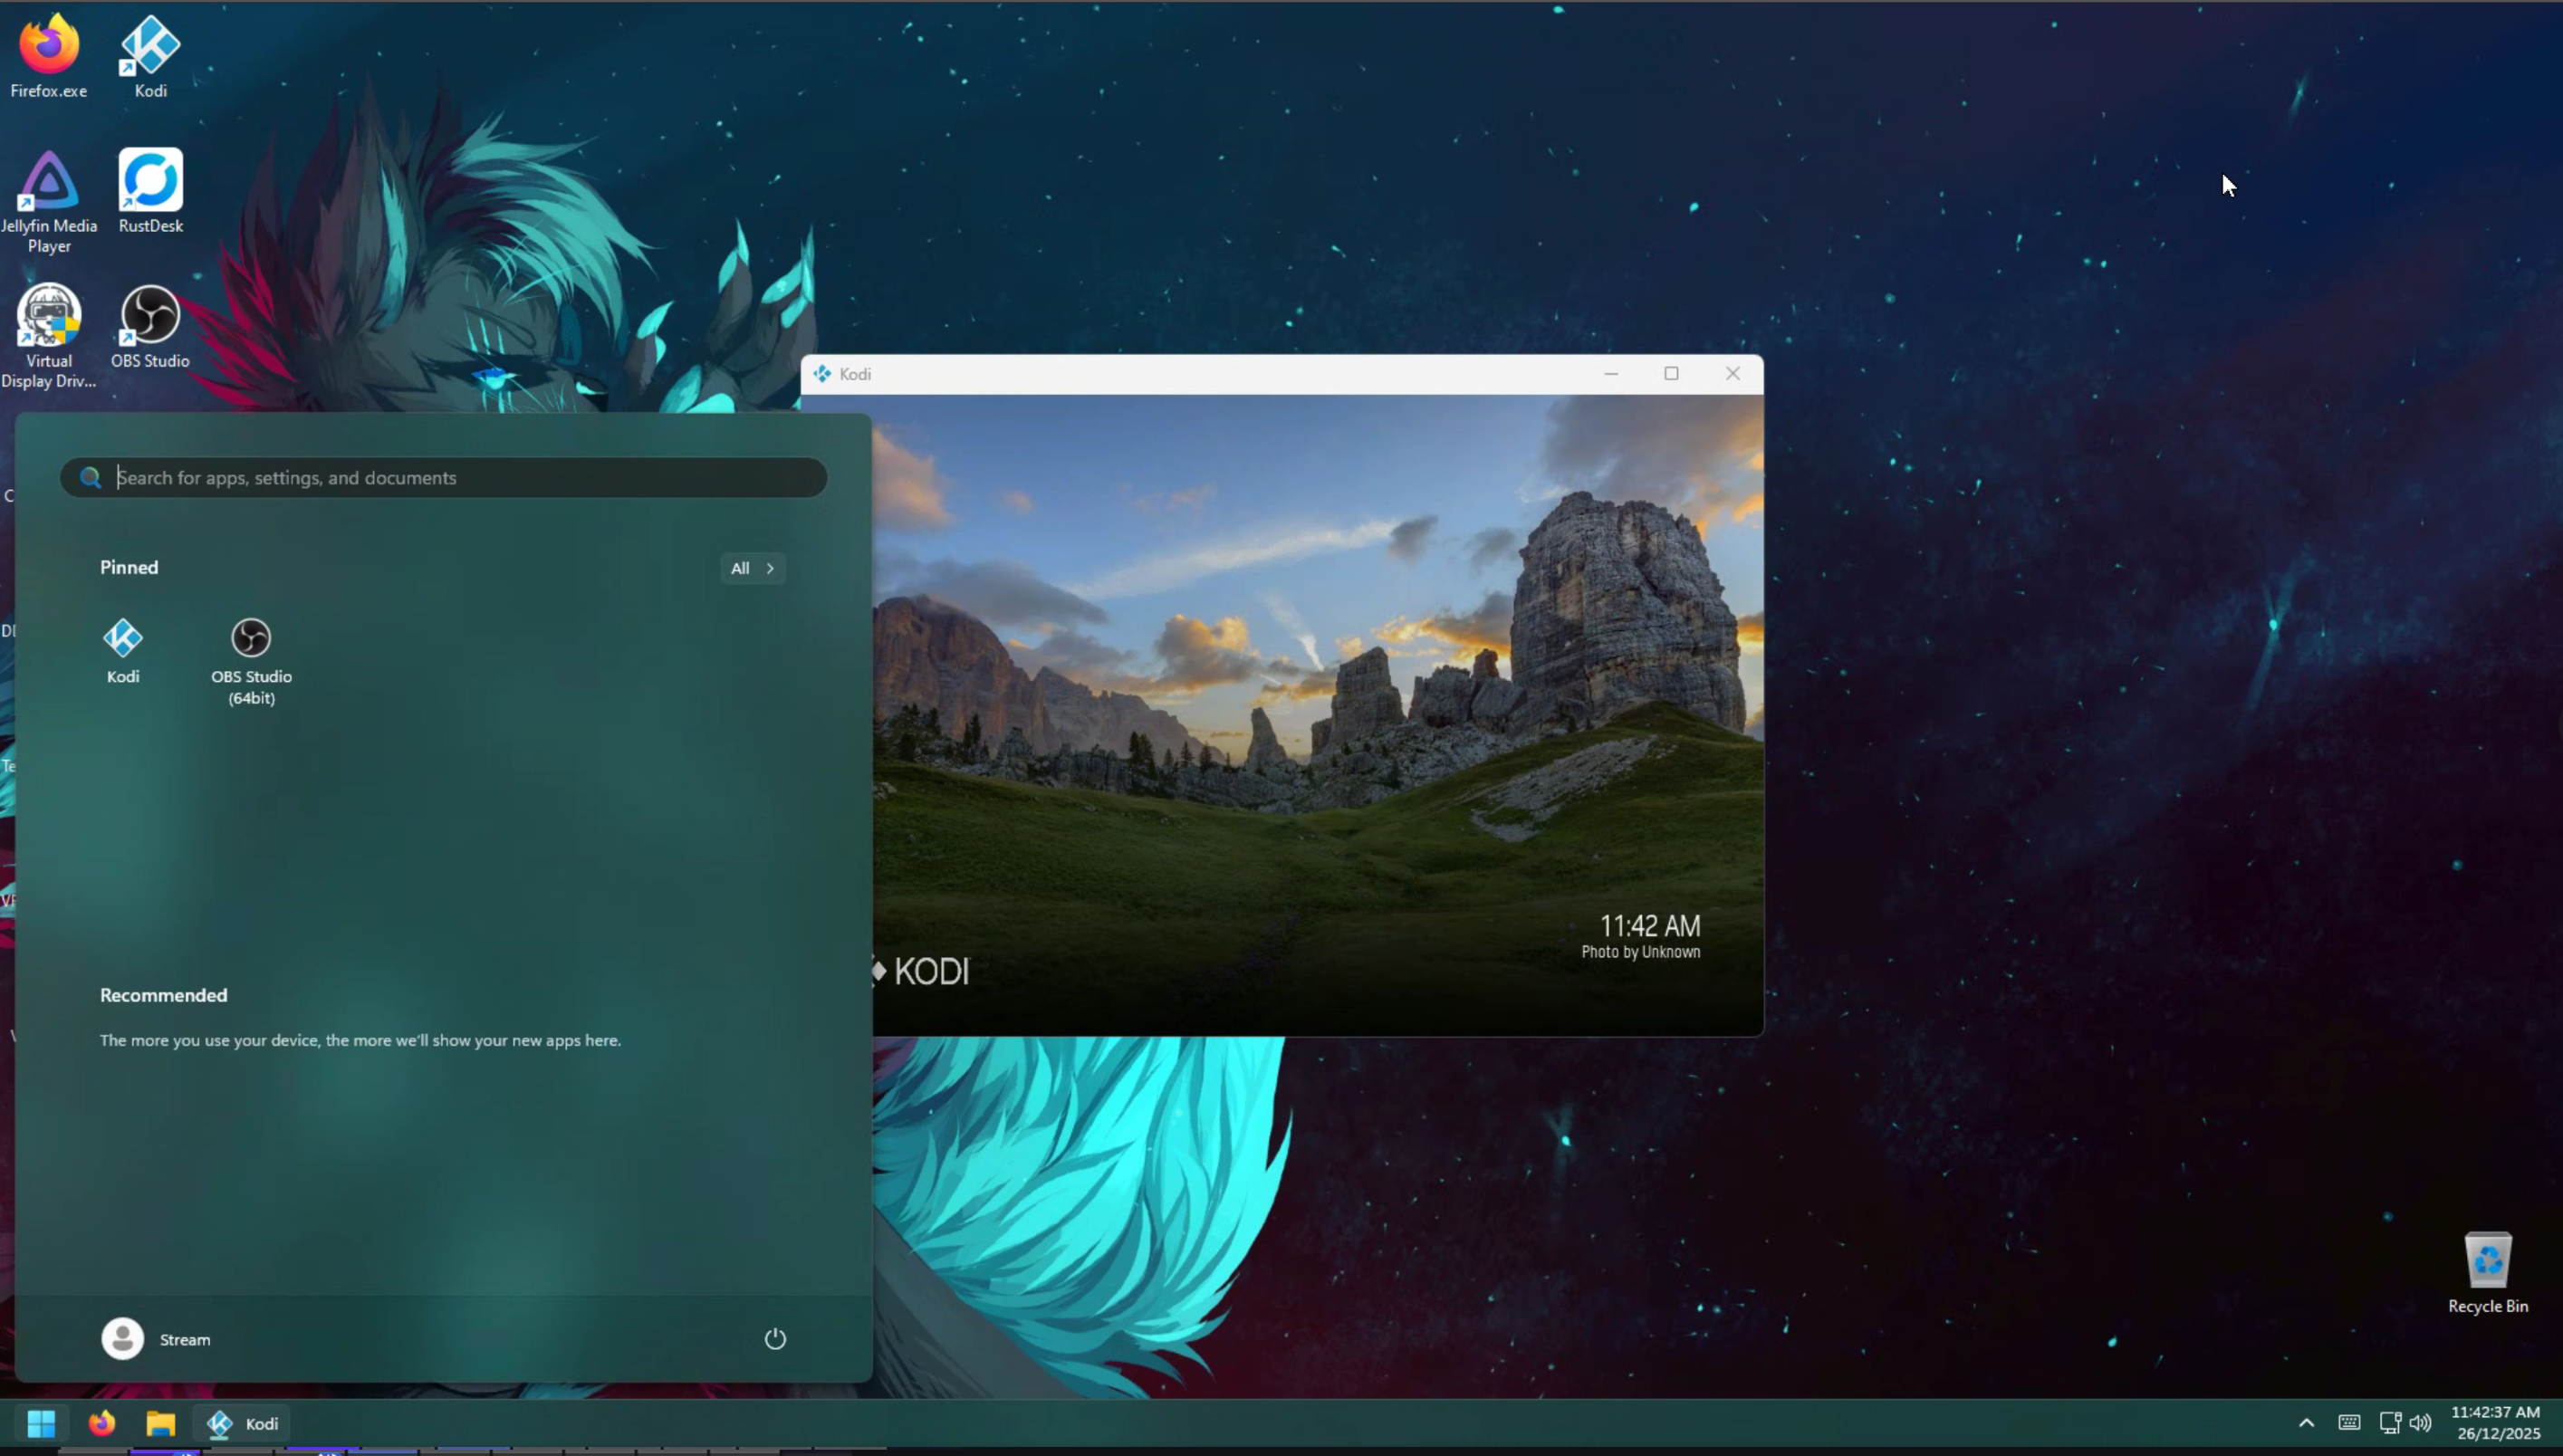
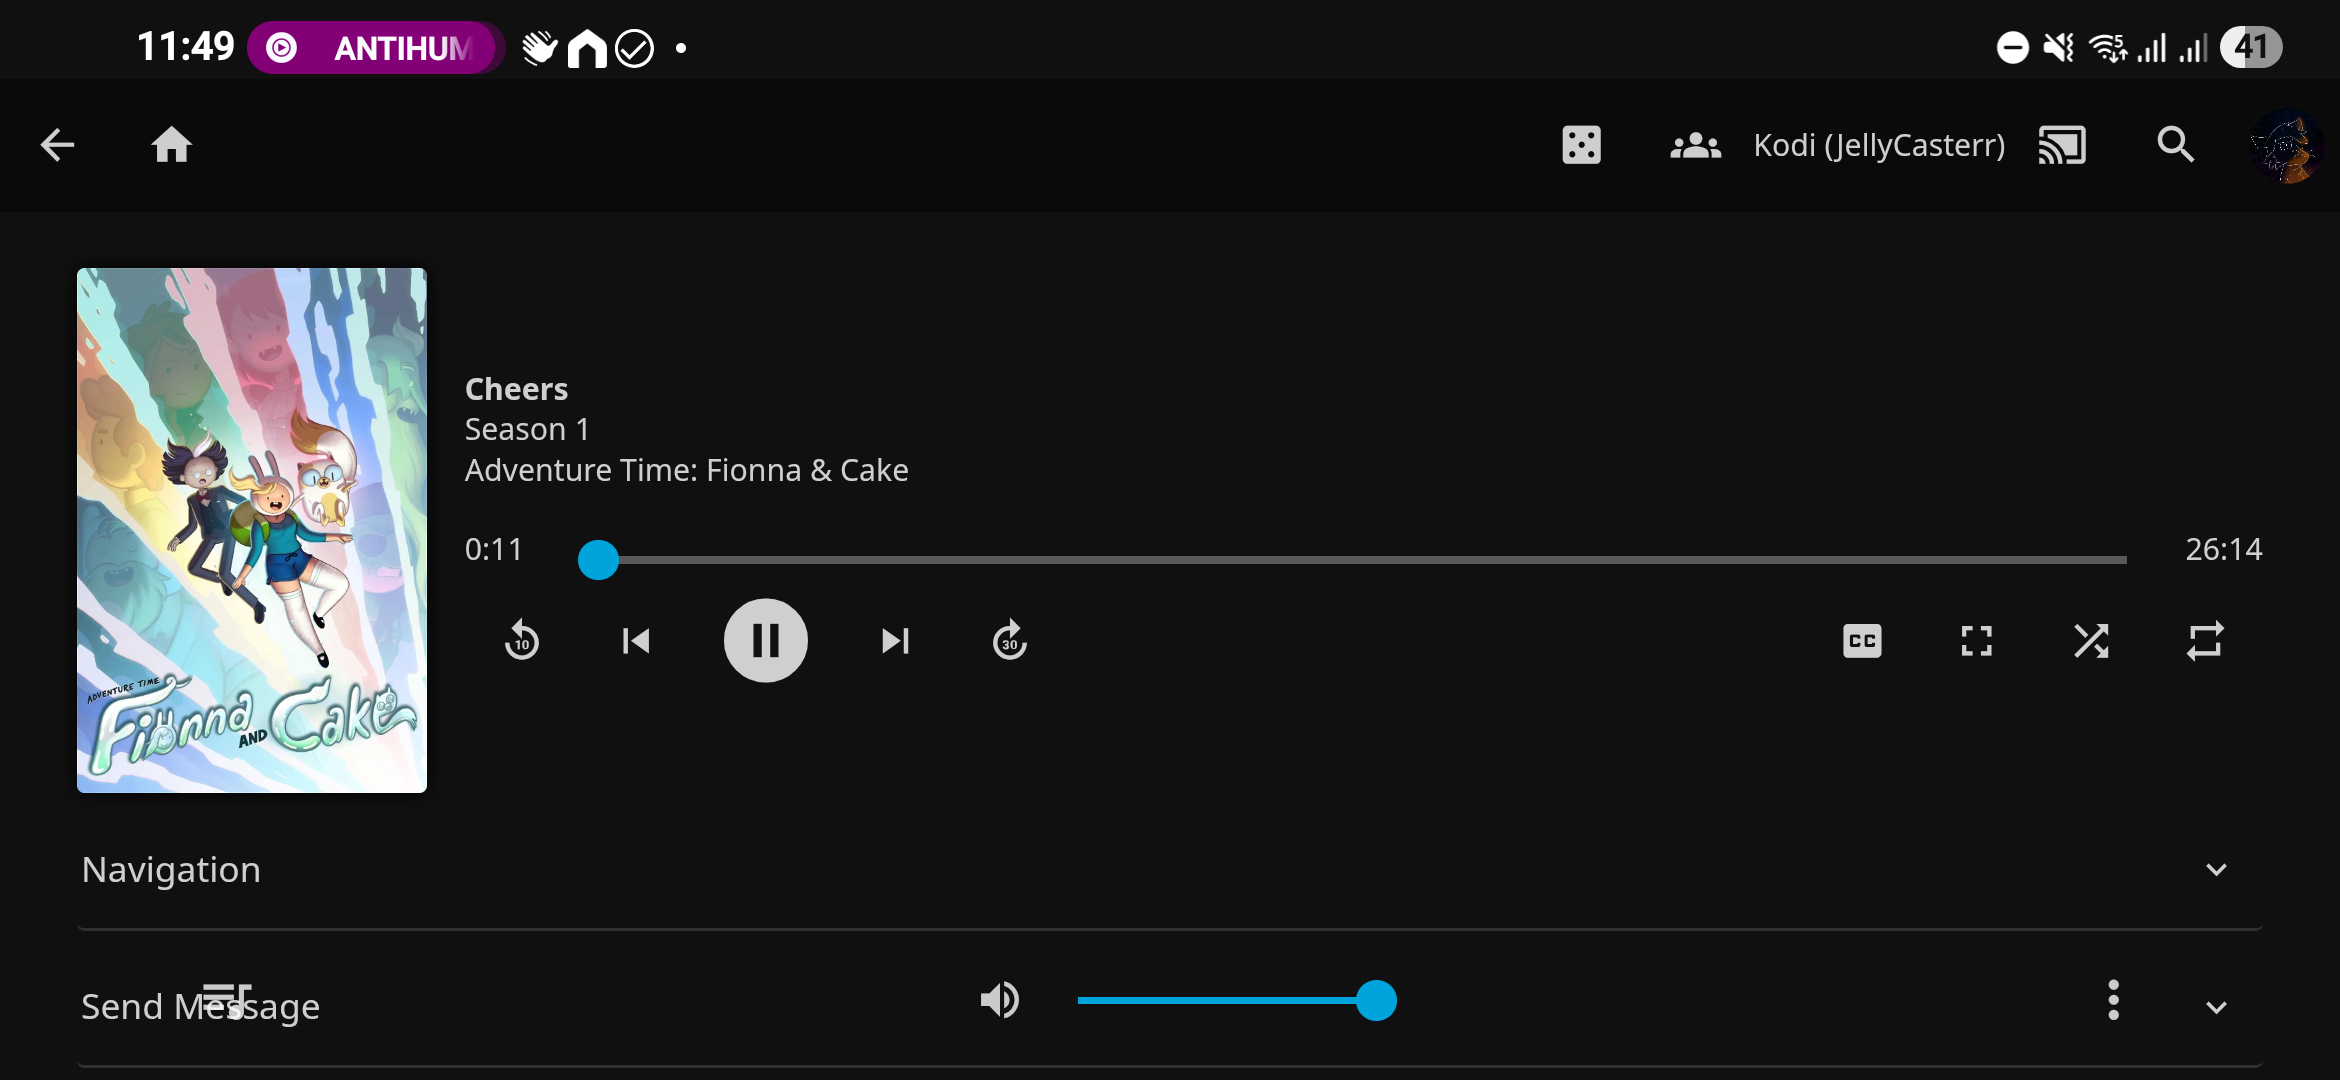
I don't stream the content from the same system im playing VRC on, I run i use a VM (virtual machine) with OBS, Firefox, Kodi installed on it.
https://kodi.tv/download/
I do it this way as I use Jellyfin for my media library and it lets me “cast” to the stream by remotely controlling it
https://jellyfin.org/docs/general/clients/kodi/
This doesn't have to be a virtual machine. If you have a spare computer you can also set it up this way, It can also be the system that's running the sever as well, if its even a different system from the one you are playing vrc on, Just make sure if you are doing this with a virtual machine that you give it a GPU using GPU pass-through.
https://forum.proxmox.com/threads/2025-proxmox-pcie-gpu-passthrough-with-nvidia.169543/
https://forums.unraid.net/topic/133563-gpu-passthrough-is-easy-heres-how/
https://github.com/bryansteiner/gpu-passthrough-tutorial
¶ The ui of srs
As mentioned at the beginning the reason i like to use srs over other streaming servers is the fact it has a nice built in management ui.
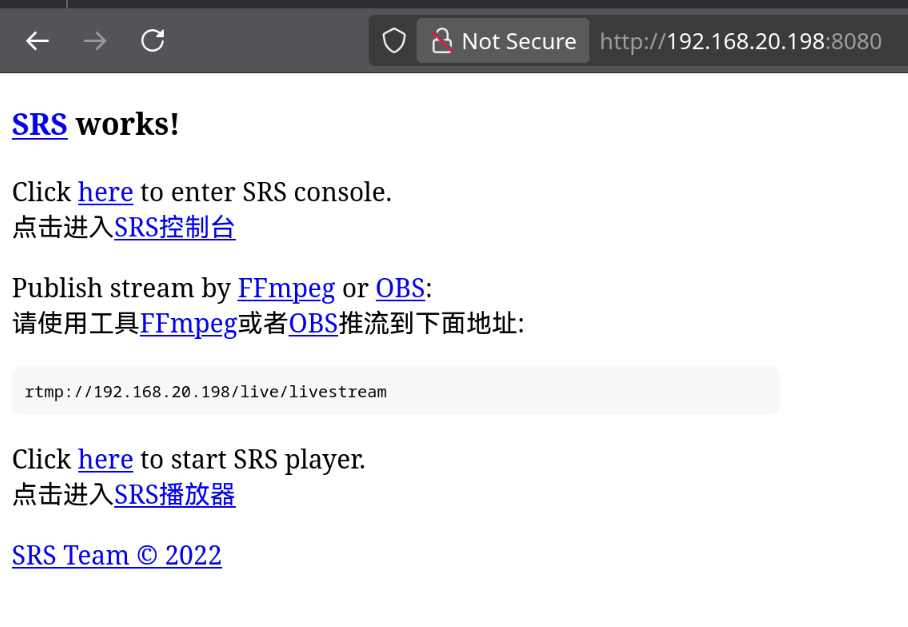
This can be assessed by just going to the http root of the server in a browser
http://127.0.0.1:8080
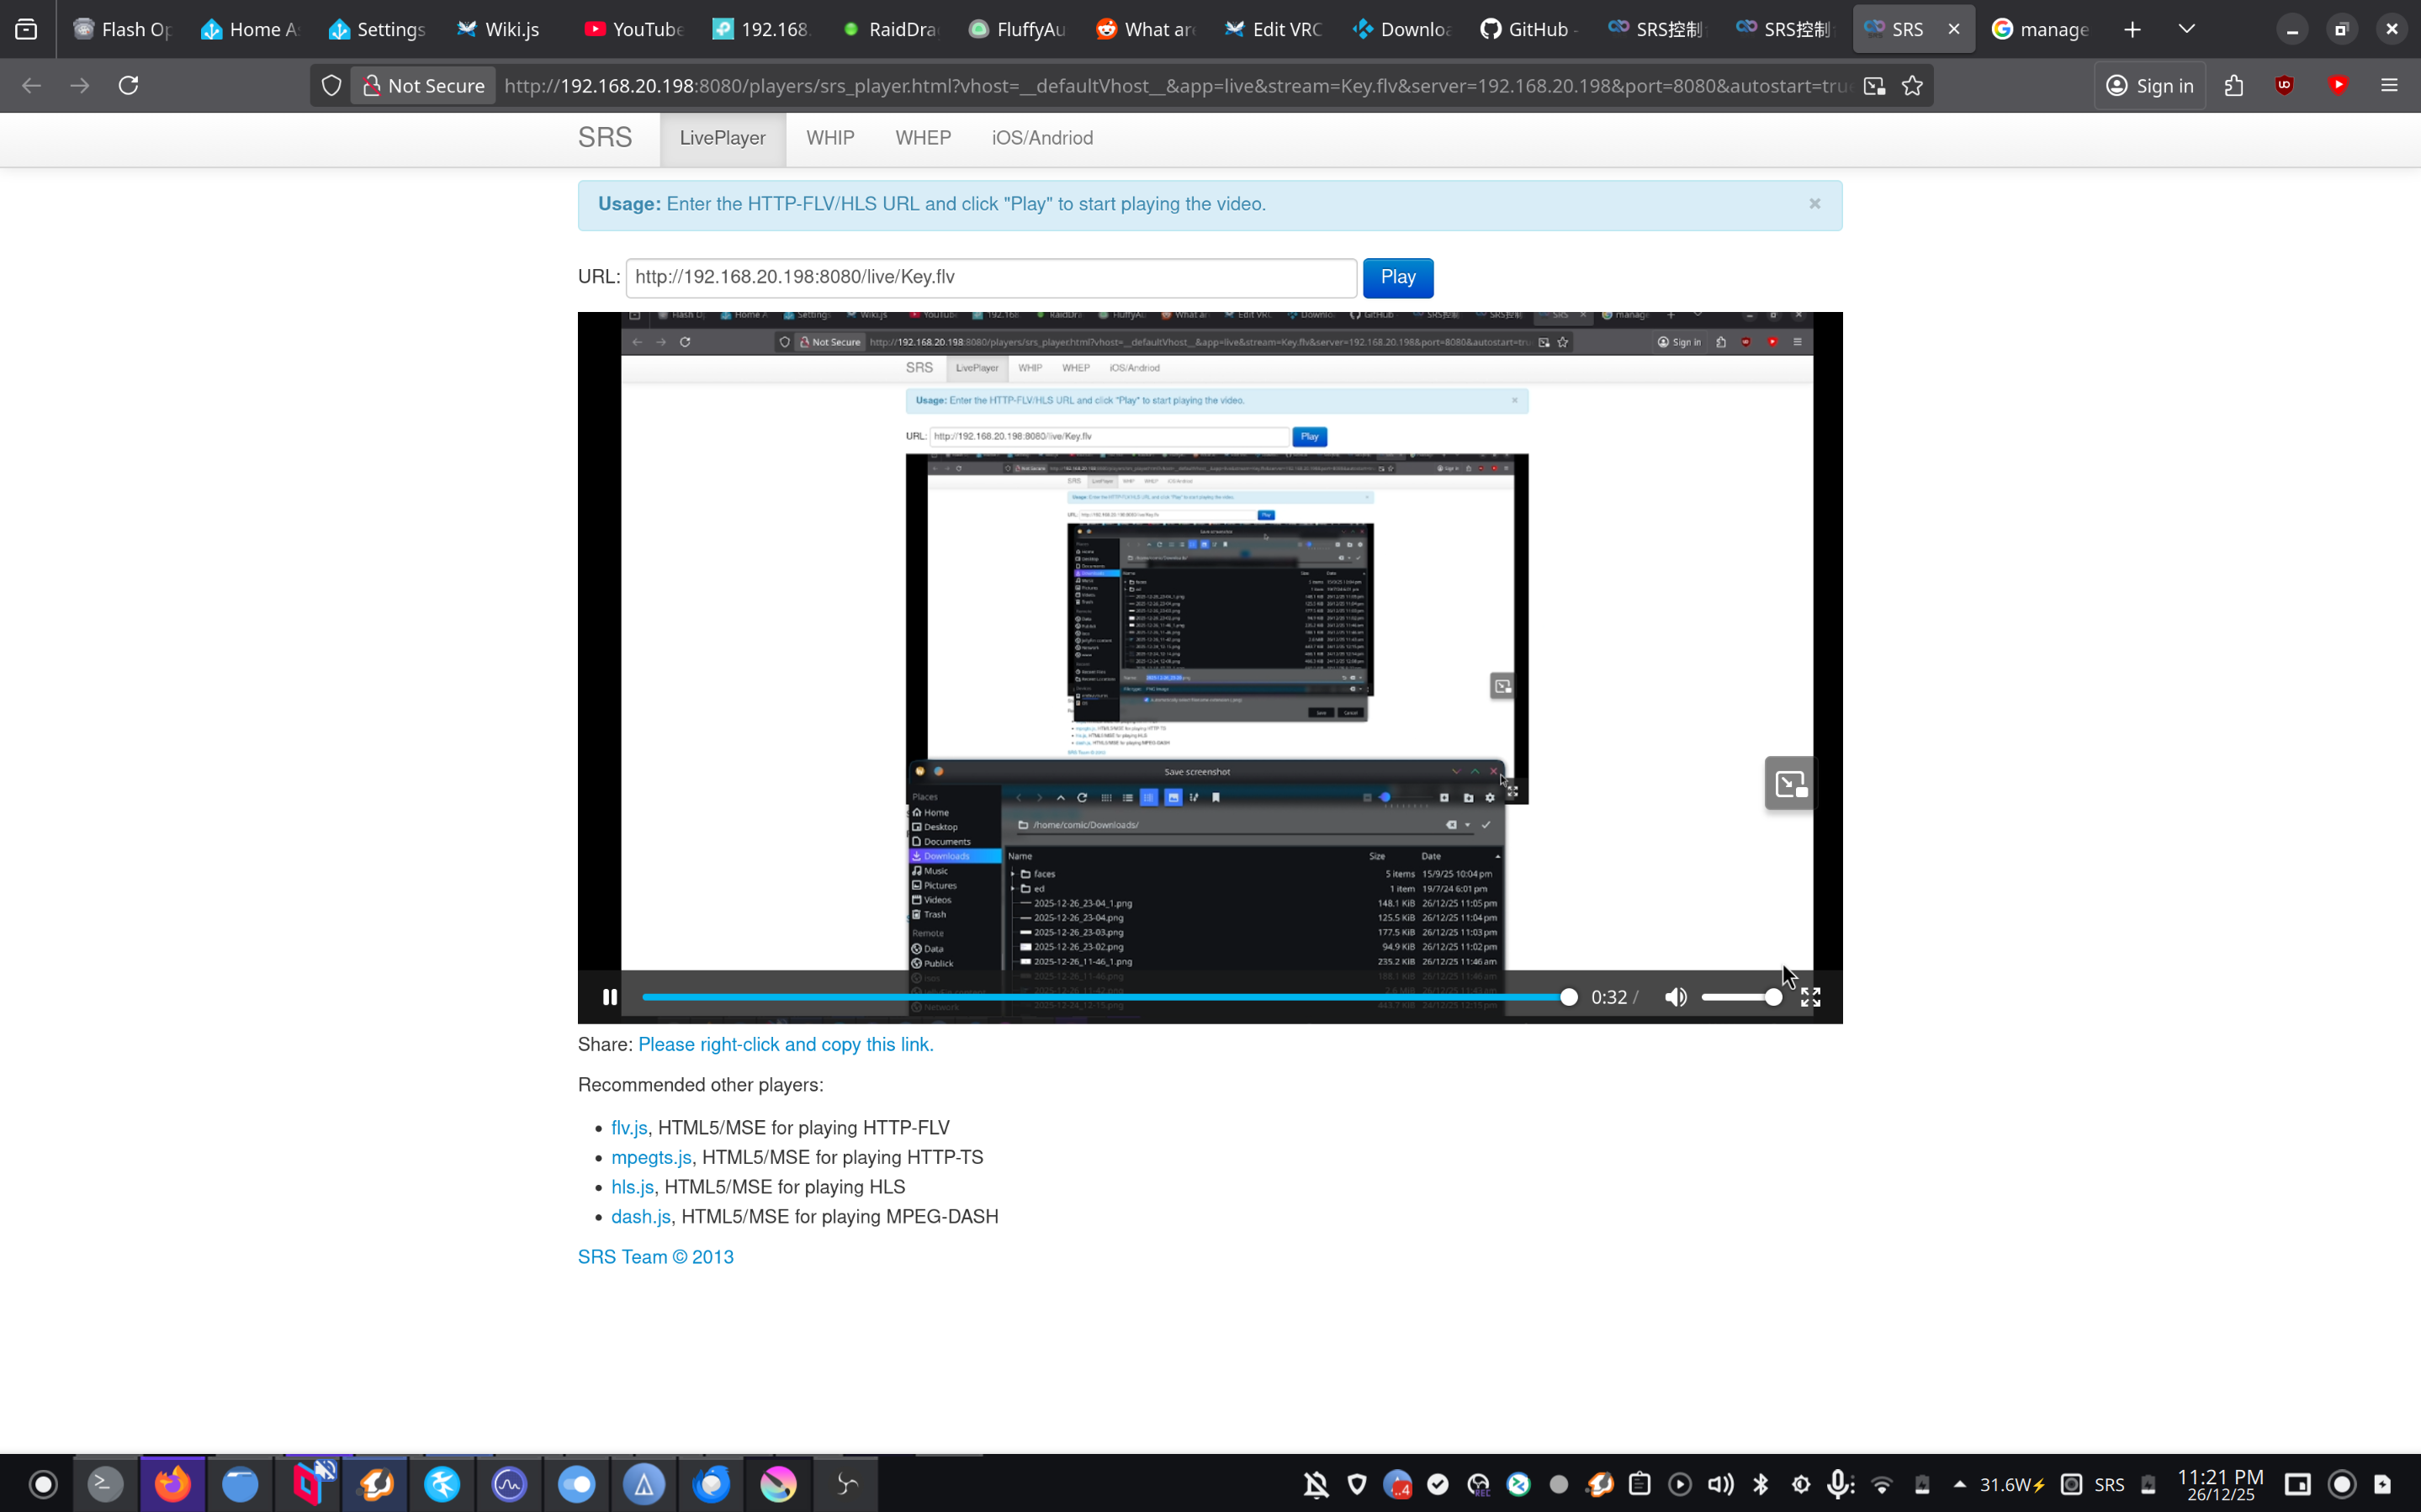
Once there to access the console press the here in “Click here to enter SRS console.”
Then you will get a few options at the top, The main ones you will likely wanna use is streams and clients
In clients you get a list of who publishing (This should only ever be you unless you are letting someone else stream) and a list of clients (called "play") along with how long they have been streaming and there ip address. You can also see other info such as the url they are using and some internal id stuff as well, There is also option to kick the user. But they can easy rejoin so it does not do much.

In Streams you get a list of the streams you are currently running, along with the bandwidth its using (outbound is the one you keep a eye on) Clients shows the number of connections, including the person making the stream (So if you are in a world with 3 others it would count 5 you are counted twice once for you publishing, then again for you seeing it yourself. Then your 3 buddy's) Video and audio show the streams quality. Preview lets you see the stream in your browser, Good for testing like when we used vlc before

Now go have fun watching anything you want using your own Live-stream.
¶ Considerations
Some things i would like to mention regarding this setup is there is no security to who can view the stream. Anyone who knows the URL you are streaming to can see What ever you are streaming. You should also be safe with what you stream to begin with, You likely don't want everyone in VRC to see info you might have on your computer, like a work email or your password, This can best be solved by using obs window capture rather then your whole desktop, if you are not using a dedicated system. And always assume someone is watching if obs is streaming to the server itself it will be publicly available.
Secondly the server itself also does not care what is pushed to it. This is not going to be a issue for most, as i advised against port forwarding the ports that let you publish and letting that only work within your network. If you are wanting to let someone else use your server to stream for themselves, First make sure they are not going to abuse it. especially if you are going to let them use it unattended. And if you are still wanting to use a VPN, Like Tailscale.